If you have OpenVPN server with multiple clients, you might need to monitor the clients location, bandwidth usage or other informations.
There are many OpenVPN monitoring tools out there but today I will show you my favorite one, furlongm/openvpn-monitor; which is easy to configure, open source web based monitoring tool. Though making it working in Docker is challenging. I had to spend several hours in order to make it work with Docker compose. So let’s start
Prepare OpenVPN server
The first thing is you need a working OpenVPN server running on Linux. If you don’t know how to setup, don’t worry, it is actually easy. Check this repo: angristan/openvpn-install and follow the usage steps. Your personal OpenVPN server will be ready in no time. I’ve been using this setup for several years with no issue.
Configuring OpenVPN server for monitoring
The next step is to configure the OpenVPN server for monitoring. It’s simple. All you need is to add the below management line in server.conf file.
sudo vim /etc/openvpn/server.conf
OR
sudo vim /etc/openvpn/server/server.conf
client-config-dir /etc/openvpn/ccd
status /var/log/openvpn/status.log
verb 3
......
#Enable OpenVPN Management Interface on all interface using port 5555
management 0.0.0.0 5555
Save and restart the OpenVPN server.
sudo service openvpn@server restart
Setting up monitoring tool with Docker compose
Now we will setup the monitoring tool for OpenVPN. There are several ways of setting up but in this tutorial I will use Docker. So first, make sure that Docker and Docker compose are installed.
Since the monitoring tool will run in Docker container and the OpenVPN server is running on the host, we need to allow Docker to communicate with host machine. You can access the host from the container with the static IP address of docker0 interface but it’s not the same case for the containers created with Docker compose.
By default docker compose creates randomly generated bridge network with random subnet group.
ifconfig

br-23213e5751fd: flags=4099<UP,BROADCAST,MULTICAST>  mtu 1500
        inet 172.22.0.1  netmask 255.255.0.0  broadcast 172.22.255.255

br-4e2fb4c7d7d0: flags=4099<UP,BROADCAST,MULTICAST>  mtu 1500
        inet 172.21.0.1  netmask 255.255.0.0  broadcast 172.21.255.255

br-8389b0aea22a: flags=4099<UP,BROADCAST,MULTICAST>  mtu 1500
        inet 172.20.0.1  netmask 255.255.0.0  broadcast 172.20.255.255

................
So it is difficult to grab static IP address for accessing the host from that random bridge interface. Moreover, if the server has firewall enabled (iptables/ufw/firewalld), we need to add the subnet/IP in firewall in order to grant access the containers to communicate with host machine.
The solution (probable) of this issue is to create a known private subnet defined in docker compose networks and configure it in iptables (or whatever firewall solution you are using) for allowing to communicate with host. First let’s create the docker-compose file. Paste the following contents in docker-compose-openvpnmonitor.yml
services:
  web:
    image: 'ruimarinho/openvpn-monitor'
    environment:
            - OPENVPNMONITOR_DEFAULT_DATETIMEFORMAT=%%d/%%m/%%Y
            - OPENVPNMONITOR_DEFAULT_LATITUDE=-37
            - OPENVPNMONITOR_DEFAULT_LONGITUDE=144
            - OPENVPNMONITOR_DEFAULT_MAPS=True
            - OPENVPNMONITOR_DEFAULT_MAPSHEIGHT=500
            - OPENVPNMONITOR_DEFAULT_SITE=Live
            - OPENVPNMONITOR_SITES_0_ALIAS=server1
            - OPENVPNMONITOR_SITES_0_HOST=192.168.35.1
            - OPENVPNMONITOR_SITES_0_NAME=server1
            - OPENVPNMONITOR_SITES_0_PORT=5555
            - OPENVPNMONITOR_SITES_0_SHOWDISCONNECT=True
    networks:
      - skynet

  auth:
    image: 'beevelop/nginx-basic-auth'
    ports:
      - '8080:80'
    links:
      - "web:web"
    environment:
      - PORT=80
      - FORWARD_HOST=web
      - FORWARD_PORT=80
      ## escape $ with $$ in Docker yml due to variable expansion
      ## example user/pass generated with htpasswd is admin:batman
      - HTPASSWD=admin:$$apr1$$2tupacmb$$heiUX0m1cgIACrT63/y3k/
    networks:
      - skynet
networks:
  skynet:
    name: skynet
    ipam:
      driver: default
      config:
      - subnet: "192.168.35.0/20"
Let’s explain what’s going on. From line 3 to 15, we are using openvpn-monitor image with some required environment variables. You can find more details here
At line 16 & 17, we defined a custom networks. Named skynet 🤖
From line 20 to 31, we used another service for implementing basic authentication for securing the monitoring tool which will be accessible to <server-ip>:8080
At line 32 & 33, we used the same custom network.
At line 34 to 40, we configured the custom network. Here we defined our own subnet so that it won’t change even if the docker-compose recreate the containers. That’s how we can ensure that subnet remain same and we can get a static IP from subnet for accessing the host machine.
Finally, before running this compose file, we need to add that subnet to iptables/ufw/firewalld for accepting the connection. Since I am using iptables in my Linux server, I’ve added the below rule
iptables -I INPUT 1 -s 192.168.35.0/20 -j ACCEPT
Make sure the rule persist after reboot.
Now we can run the compose file
docker-compose -f docker-compose-openvpnmonitor.yml up -d
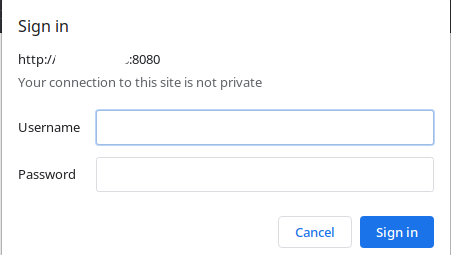
Visit <server-ip>:8080, use user pass admin:batman when prompted. After log in you should see the web based OpenVPN monitoring with all the information.
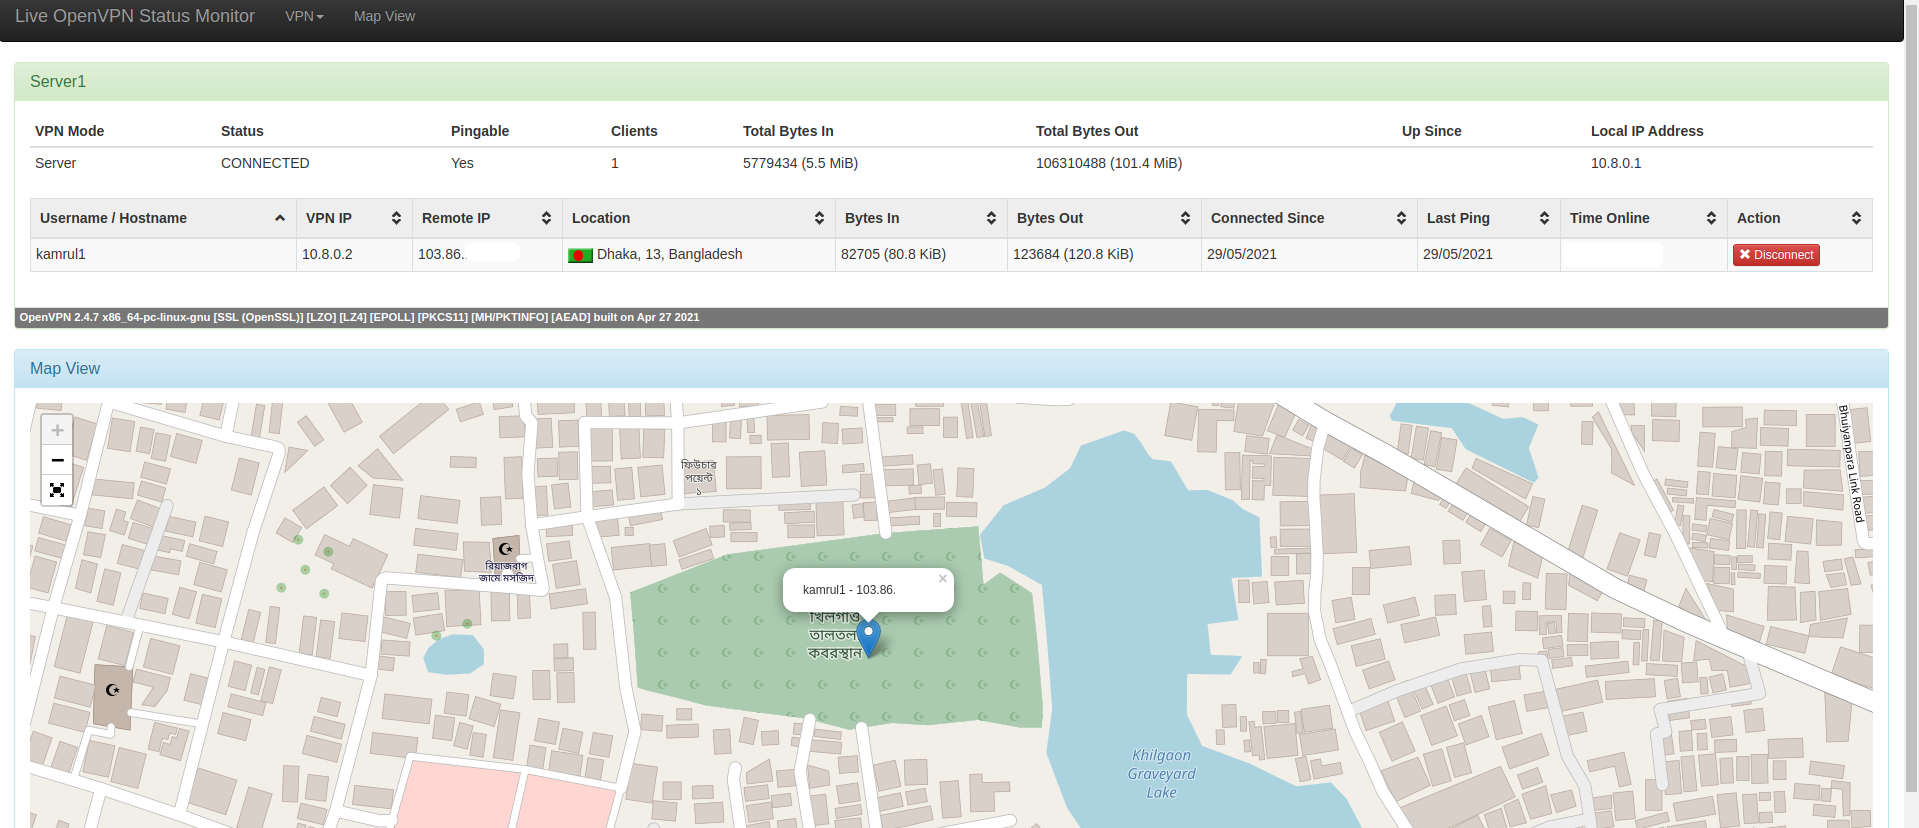 You can see the currently connected users info (location, bandwidth usage etc). Voila 😎
If you get an error, most likely it is firewall that causing the issue. Make sure that you allowed the subnet correctly.