In this guide, we will see how to setup Jenkins in different servers as master and slave. We will use docker to quickly run the Jenkins within the container and establish master slave communication between both servers.
Having Jenkins master and slaves as Docker containers can be a very useful as it will be portable, easily extendable, isolated from other processes, easy to keep it maintainable, and resource efficient.
For this guide, I will use two Linux servers both running Debian 10 and docker with docker compose. I will use one server (server1) as master and another as slave (server2)
Installing docker & docker compose in both Linux servers
We will install docker with easy installation script
curl -fsSL https://get.docker.com -o get-docker.sh
sh get-docker.sh
After installation, make sure to add yourself to docker user group
For docker compose installation, please refer the docker compose installation guide
Installing Jenkins on servers
I’ve prepared a docker-compose file which takes care all the necessary steps to deploy Jenkins in a container. In both servers, paste the below code in docker-compose.yml file and save
version: '3'
services:
  jenkins:
    image: jenkins/jenkins:lts
    volumes:
      - jenkins_home:/var/jenkins_home
    ports:
      - "8080:8080"
      - "50000:50000"
      - "5000:5000"
    container_name: jenkins_container
volumes:
    jenkins_home:
I used persistent mount where our workspace and all the Jenkins data will live in jenkins_home volume.
Now run the below command in both servers in order to deploy the Jenkins
docker-compose up -d
Setting up Jenkins
After installing Jenkins, the docker container will be prepared within a minute. Now if you see the container log, you should see a password is generated which is required to setting up the Jenkins.
docker container ls
docker container logs jenkins_container
Note the password.

Now visit http://your-server-ip:8080 and begin the installation process
Setting up master and slave node
Now that we have installed and prepared Jenkins in both servers, let’s prepare server1 as master and server2 as slave node
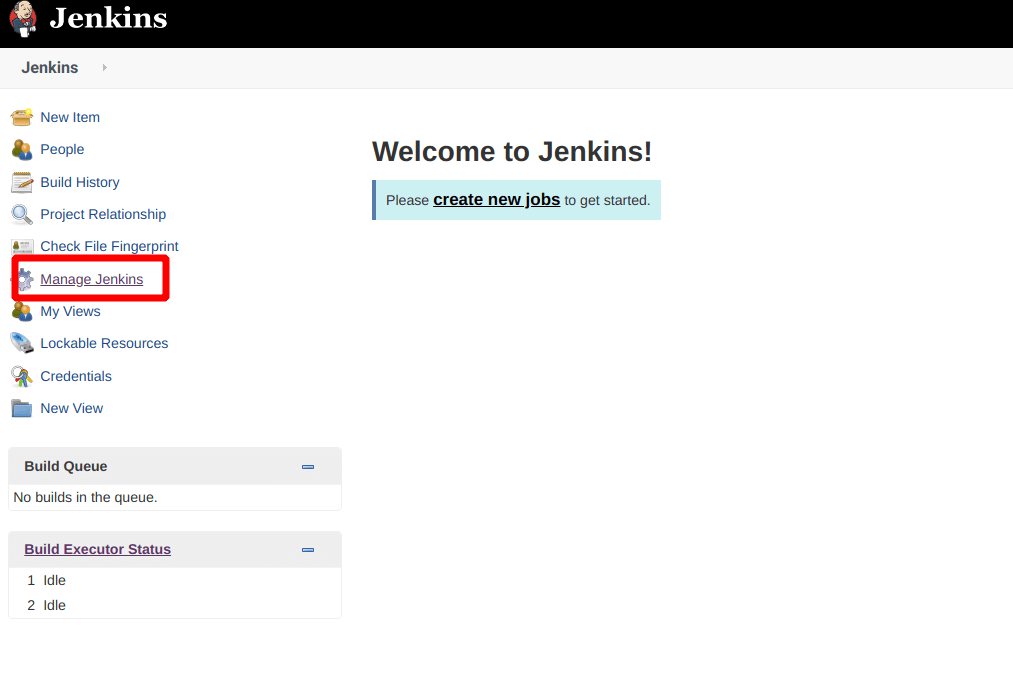
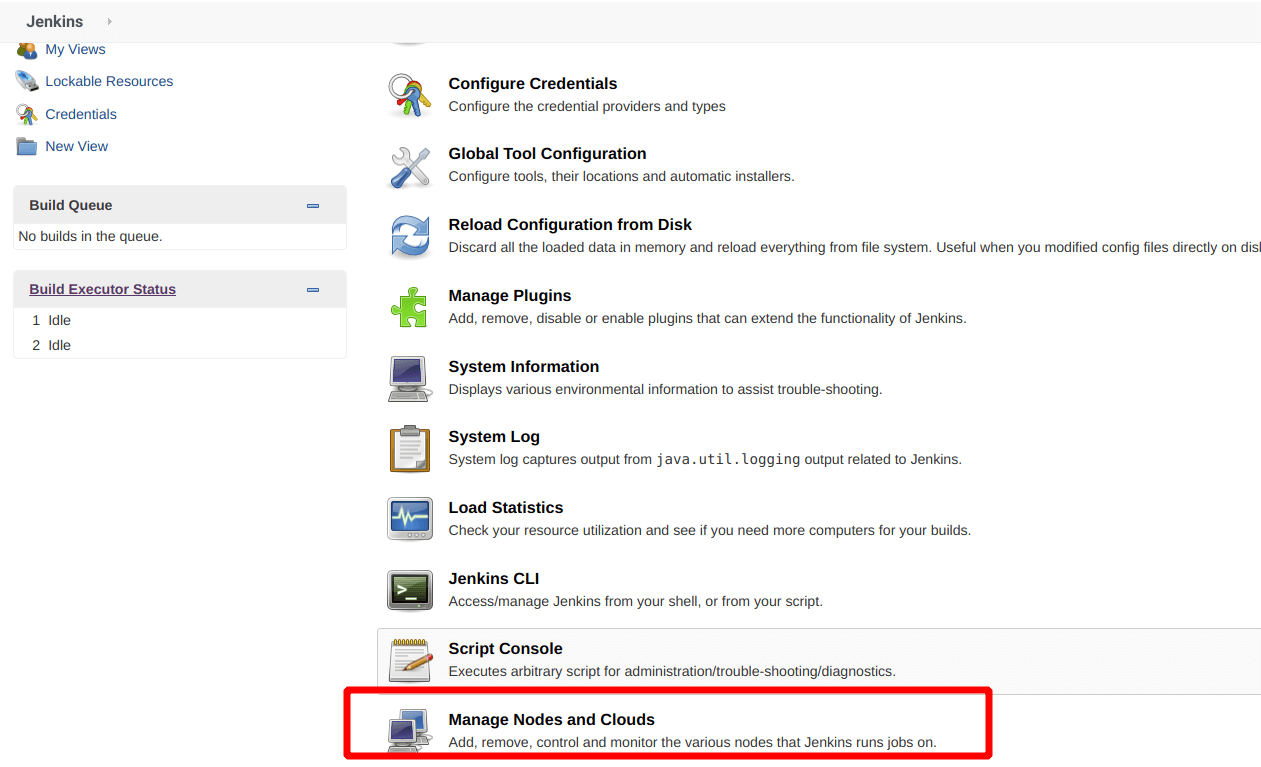
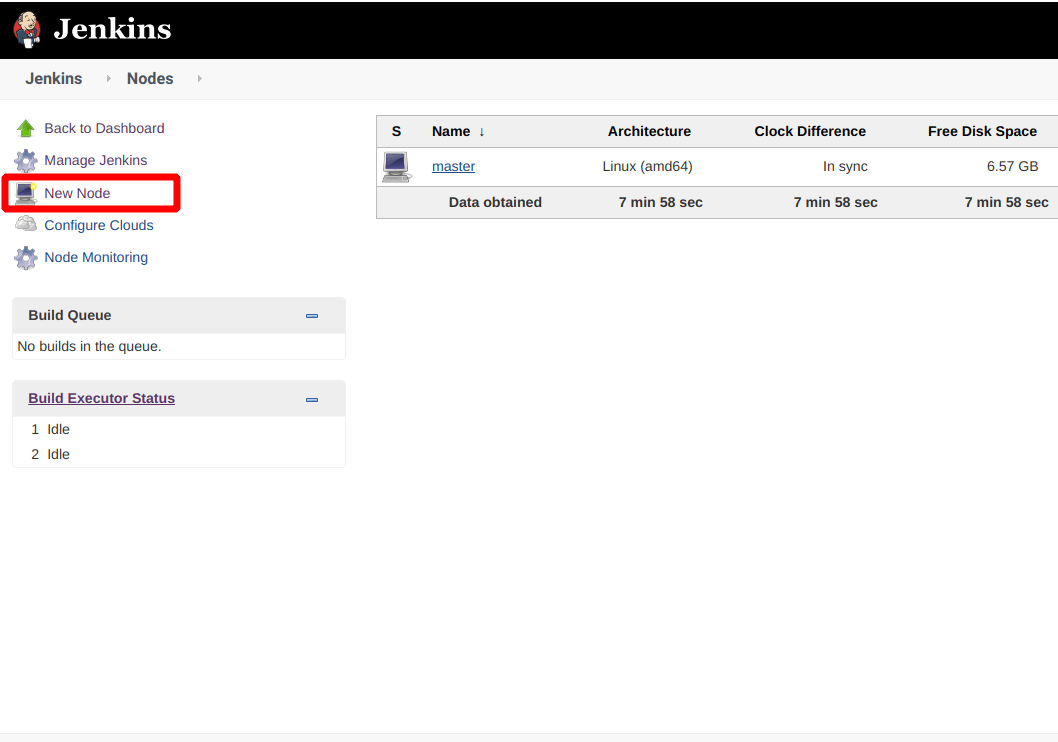
In server1, click “Manage Jenkins” and then “Manage Nodes And Clouds” -> “New Node”
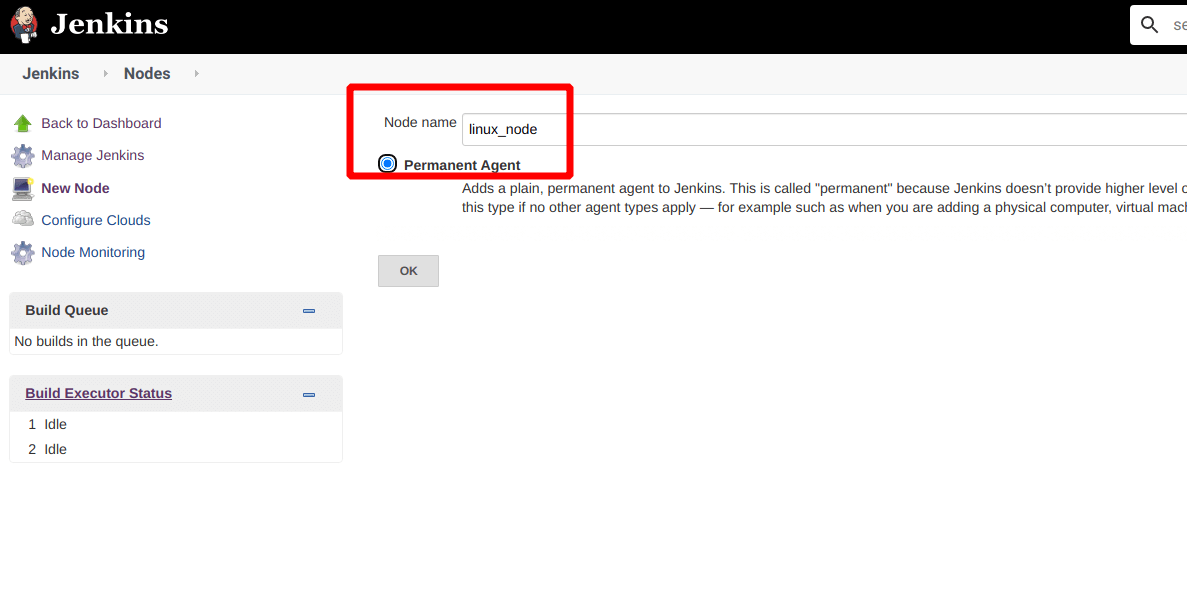
We provided a node name and make that node permanent. Click Ok
Now we will setup the slave node as follows:
Name: Name of the slave
Description : Optional , Description for the slave node
# of executors : The maximum number of concurrent builds that Jenkins may perform on this agent.
Remote root directory: /var/jenkins_home This directory is the dedicated Jenkins directory in the docker container. So don’t change it
Labels: Labels (or tags) are used to group multiple agents into one logical group. We can use that label/tag to specify the job to build in that node
Usage: Only build jobs with label expressions matching this node
Launch method: Launch agent by connecting it to the master. We will use this method to sync master slave communication
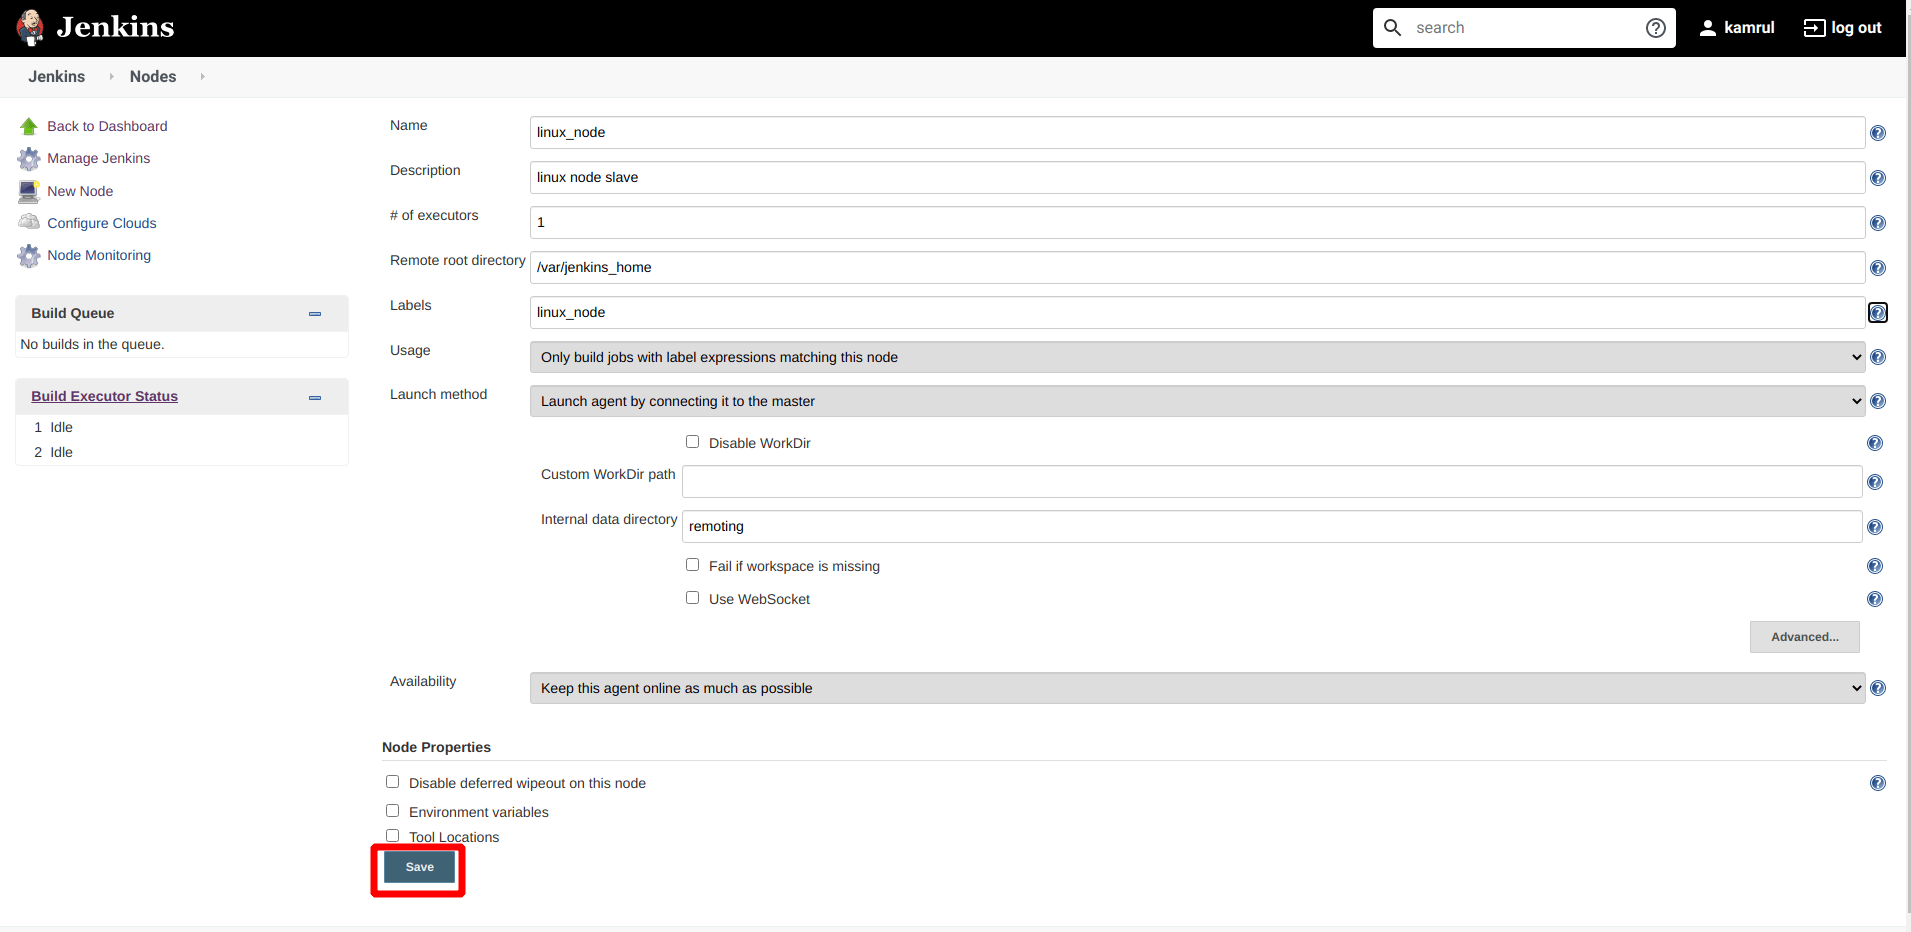
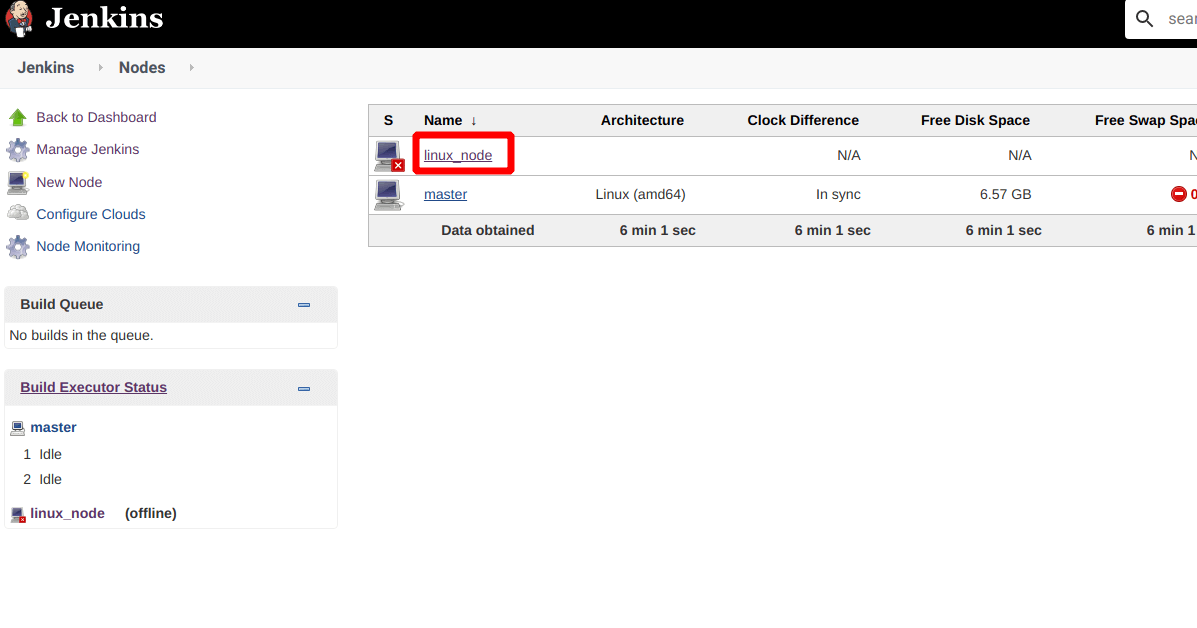
Now after clicking save, click on the slave node
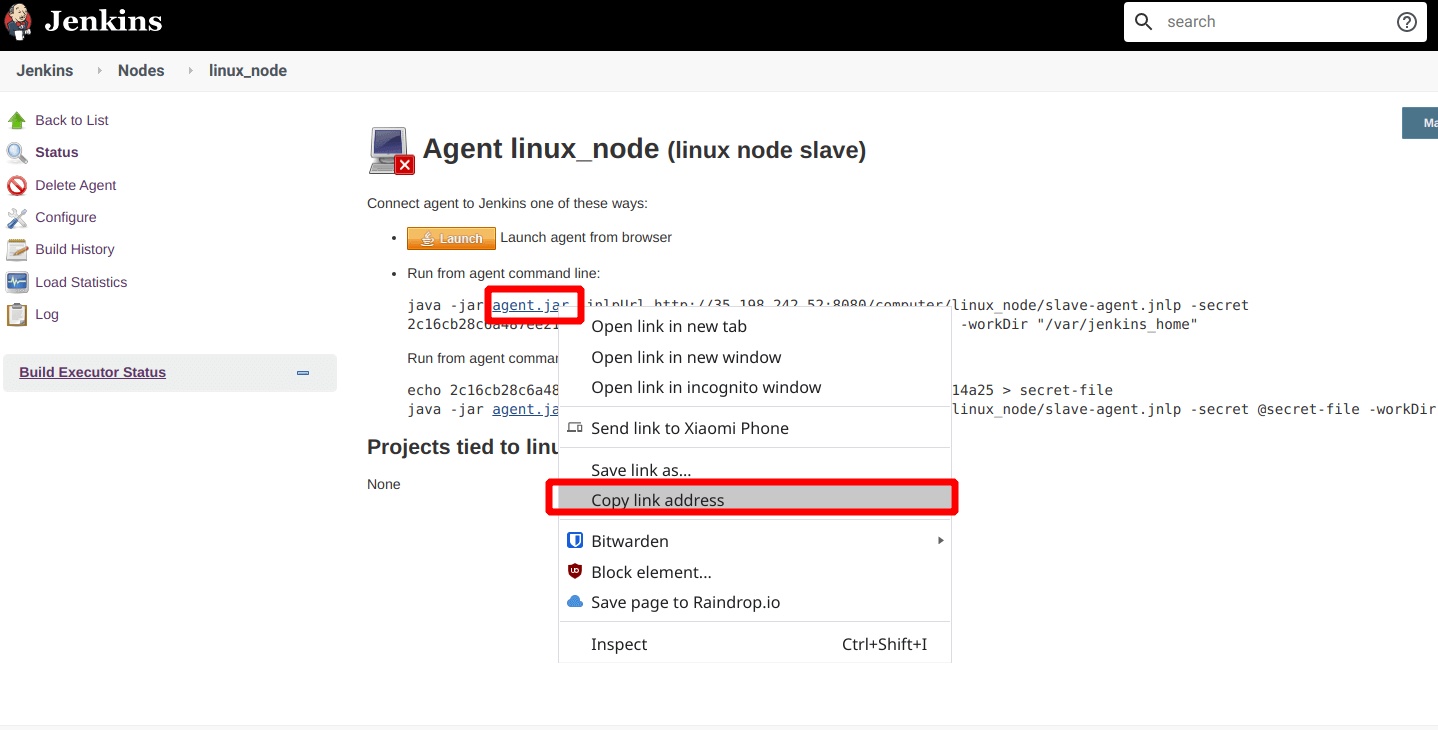
Here we will see the way of connecting with master server from slave. We need the agent.jar file. So copy the agent.jar address (right click on agent.jar and click copy the address) and paste it to the notepad. Don’t delete the tab
Now login to server2, note the container name and ssh into the Jenkins container
docker container ls
docker container exec -it jenkins_container bash
After that you should see you are in Jenkins container. Now navigate to Jenkins home directory and use wget command to pull the agent.jar file from server1 (we copied the agent.jar file address from server1)
cd /var/jenkins_home
wget http://server1-address:8080/jnlpJars/agent.jar
Now navigate to the browser tab and copy any of the agent command. I choose the second one

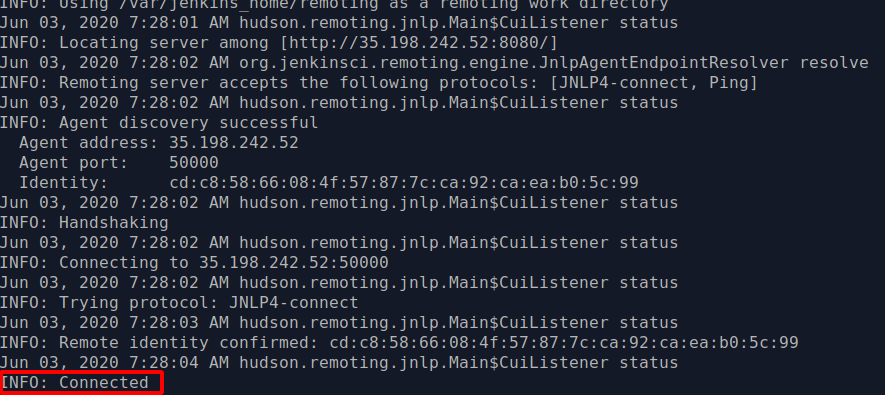
Now get back to the terminal (where you are ssh into jenkins slave container) and paste the command. Hit enter. A few seconds later, you should see INFO: Connected. Which means our slave node is successfully connected with master node.
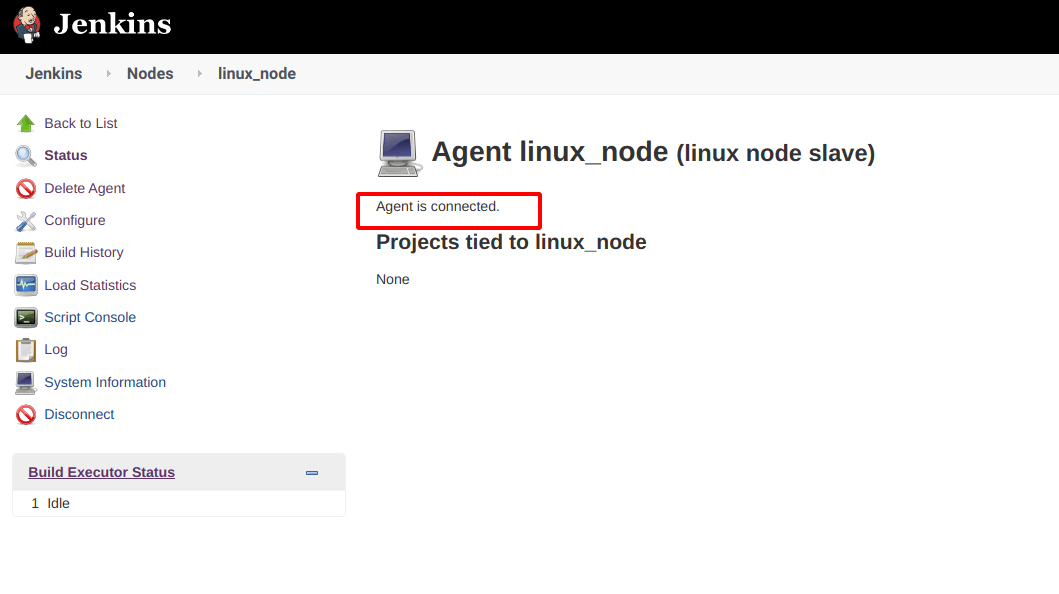
Go back to the browser tab and hit refresh. You should see “Agent is connected.” message
Testing a build job to our slave node
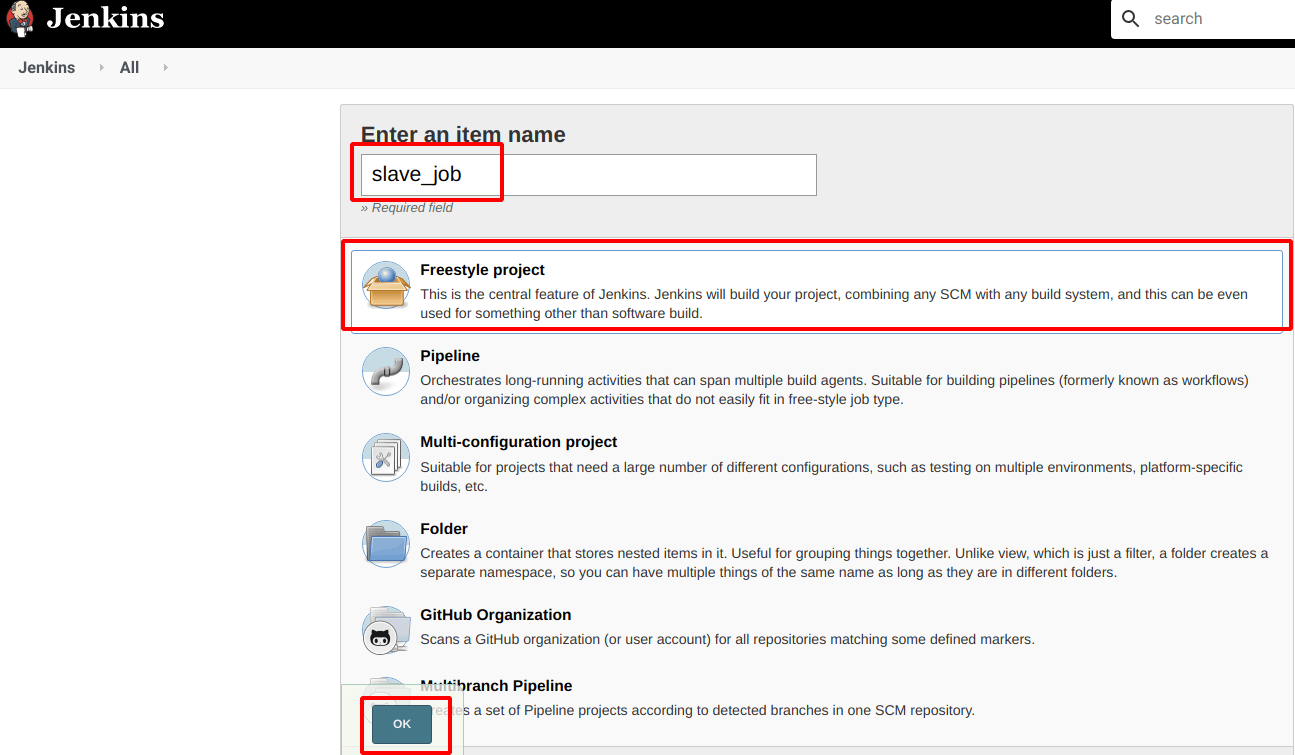
Let’s see how we can build a job to our slave node. First create a very simple job in our master server
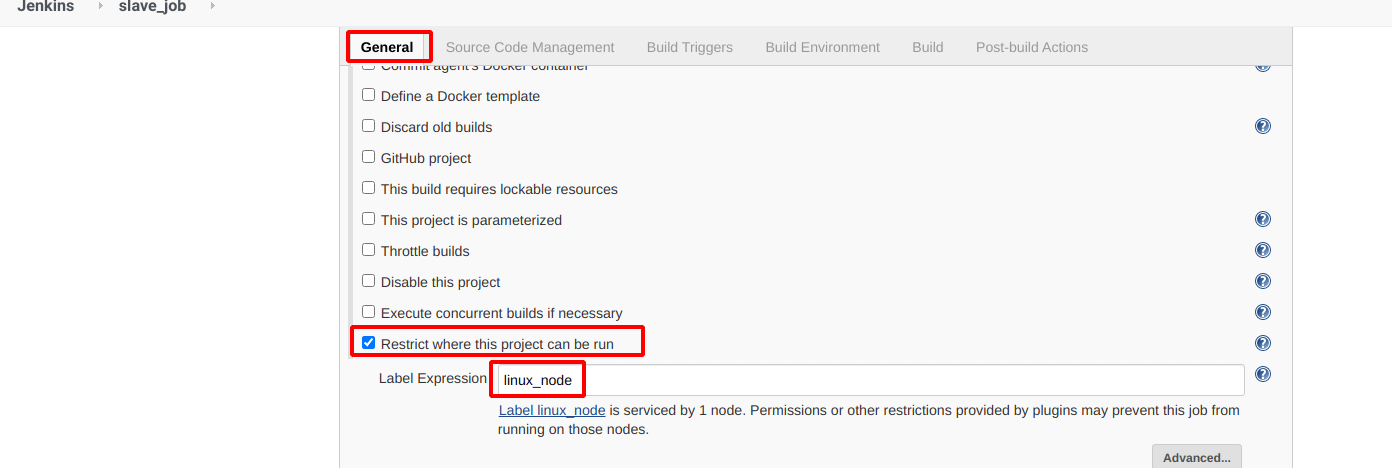
Under “General” settings, select “Restrict where this project can be run” and put your slave node’s label. In my case it is “linux_node”.
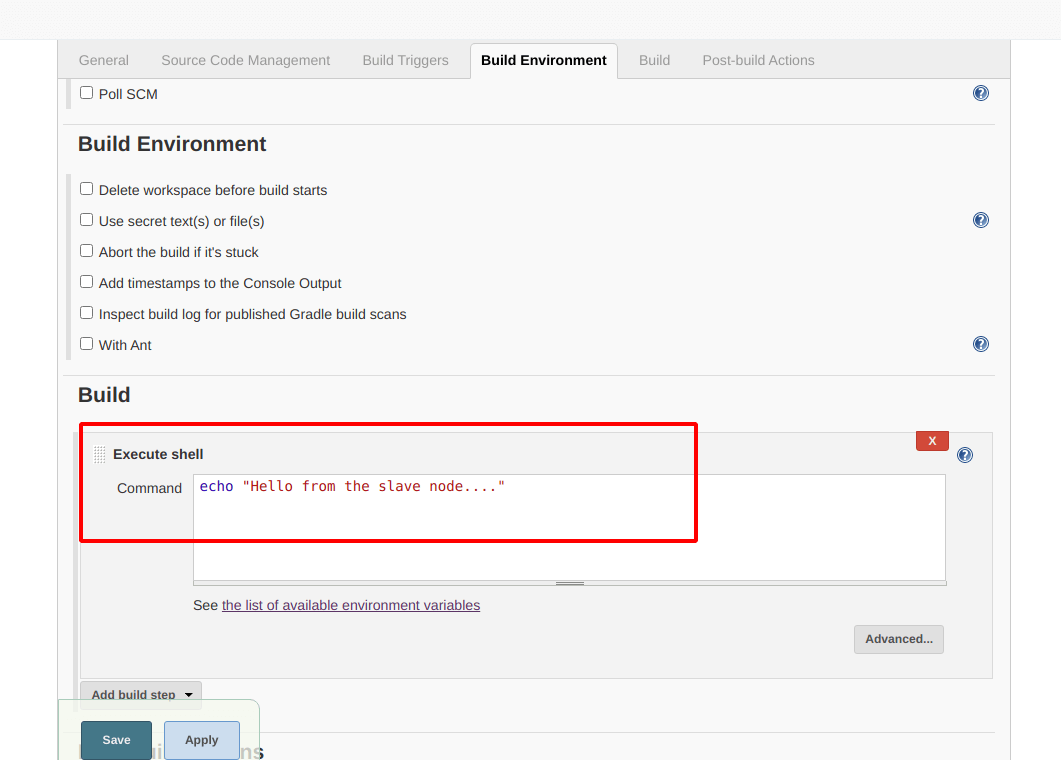
Now in Build section, I selected bash command in order to echo a text. Just to test it out whether our build works on slave node or not. Click save.
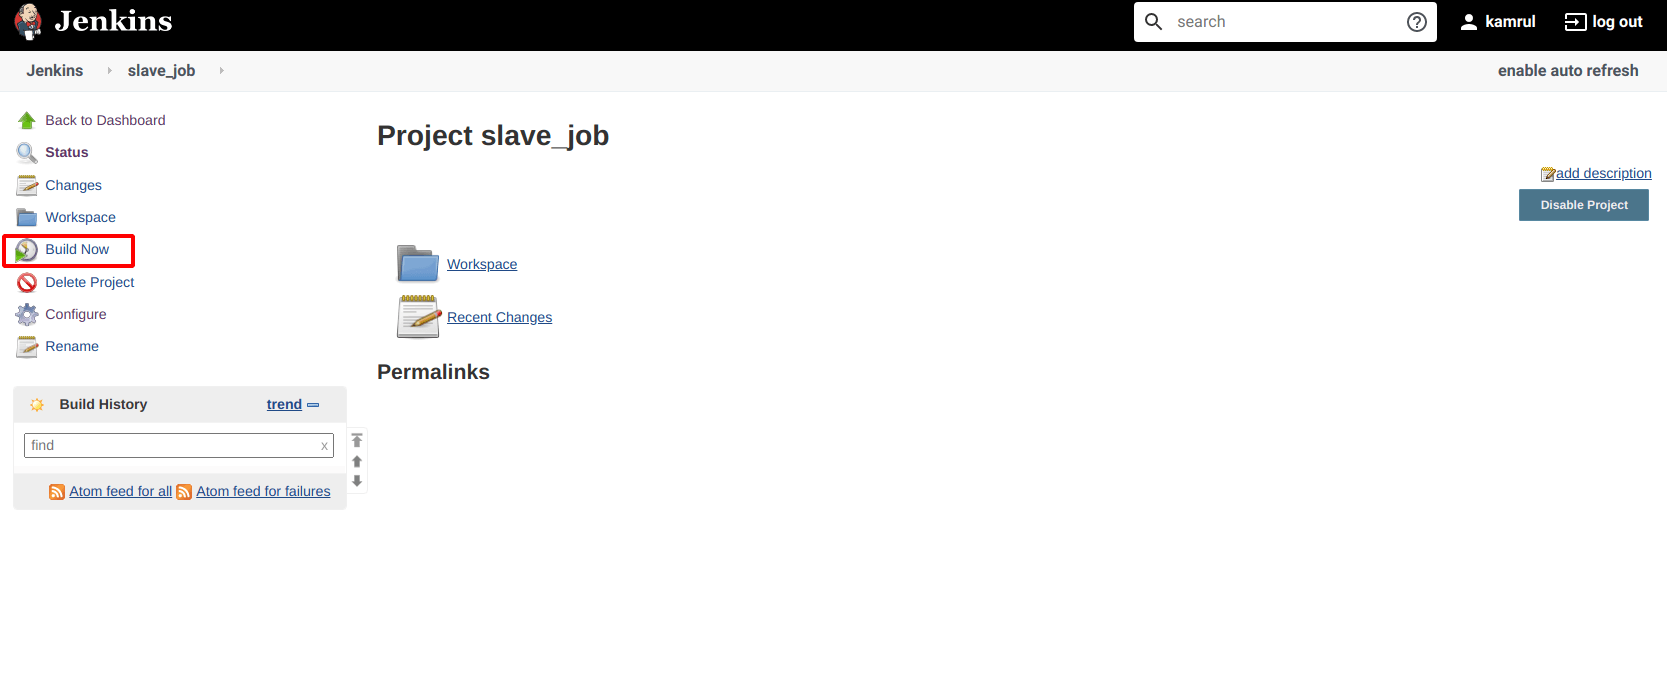
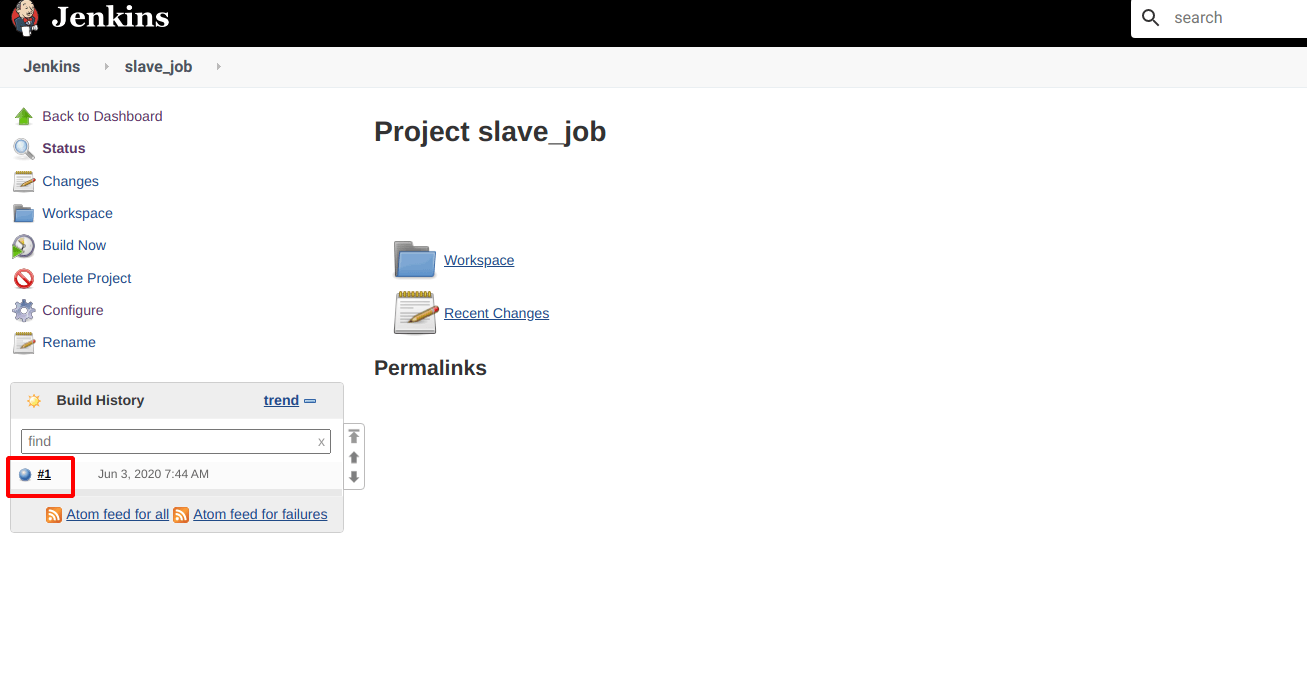
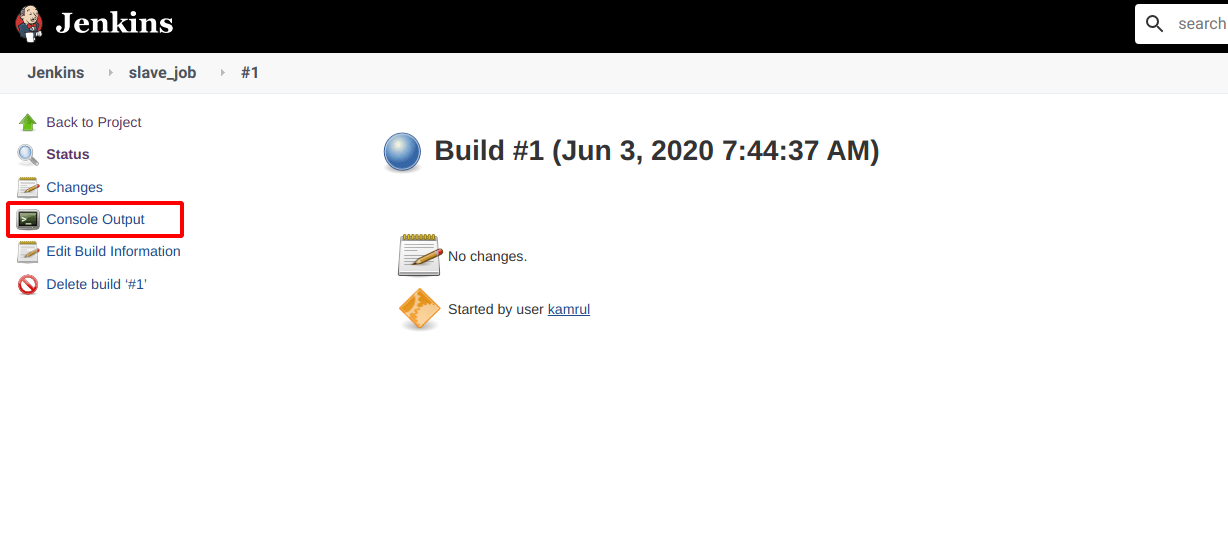
Now click on the “Build Now” and then click on the build number. Click on the “Console Output”
You should see that the build is success. It executes our desire command in the slave node without any issue
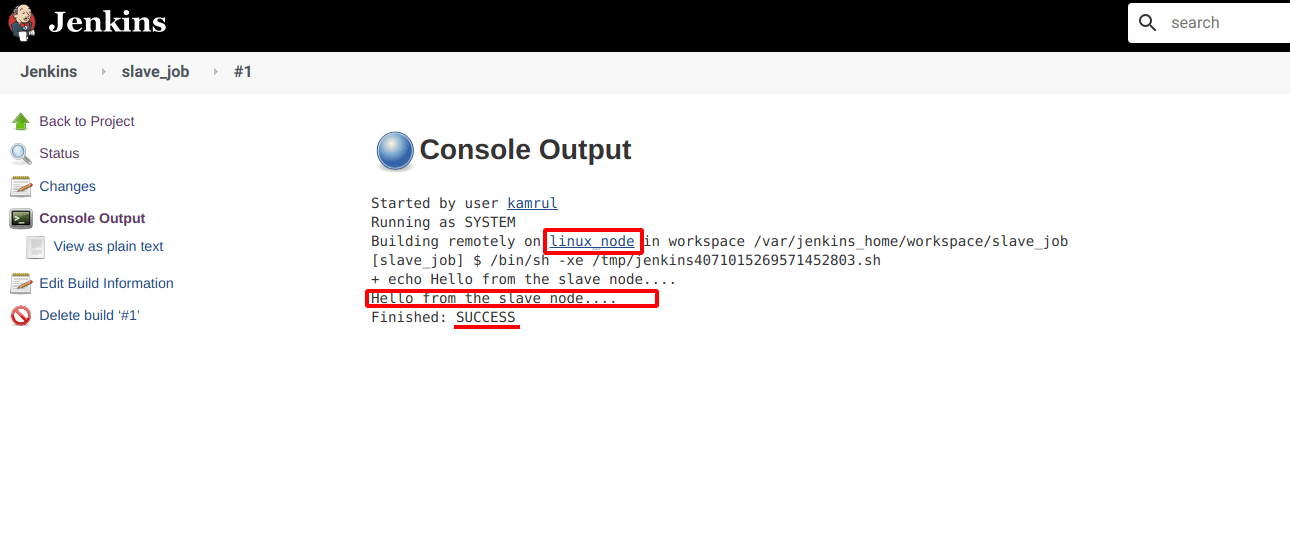
We successfully setup a master and slave node. Similarly we can add more slave node to the master server and build our specific job to the specific node based on the label.