In this article we will see how we can host our domain to OpenLiteSpeed web server by using Name-based virtual hosting. In this way we can host multiple website/domain against a single IP address or web server.
Before start, make sure you pointed your domain name to your server’s IP address (setup A record)
Creating virtual host for a domain
- First we will create the necessary directories where our web content’s will be stored. Suppose our domain name is example10.com so we will create ‘example10’ directory first and create other sub directories afterwards within that directory. Note that the public folder of OpenLiteSpeed web server is /usr/local/lsws. So we will create the directories within here.
cd /usr/local/lsws
mkdir example10
cd examle10
mkdir {html,logs}
NOTE: if you are following my Deploy WordPress with OpenLiteSpeed in Docker swarm, navigate to /var/www/vhosts/ instead of /usr/local/lsws/ and create the directory
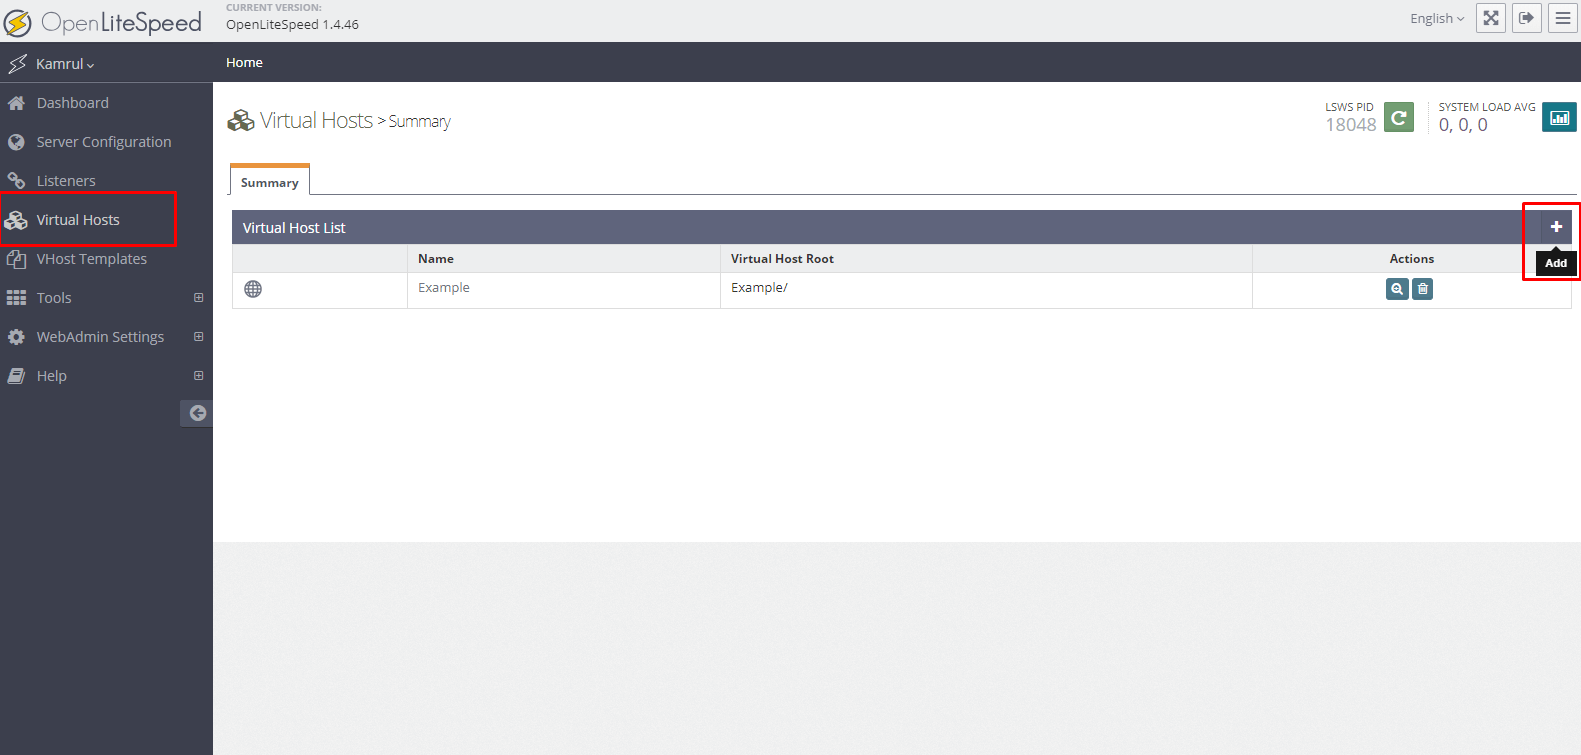
- Now login to the OpenLiteSpeed web admin panel and goto “Virtual Hosts”
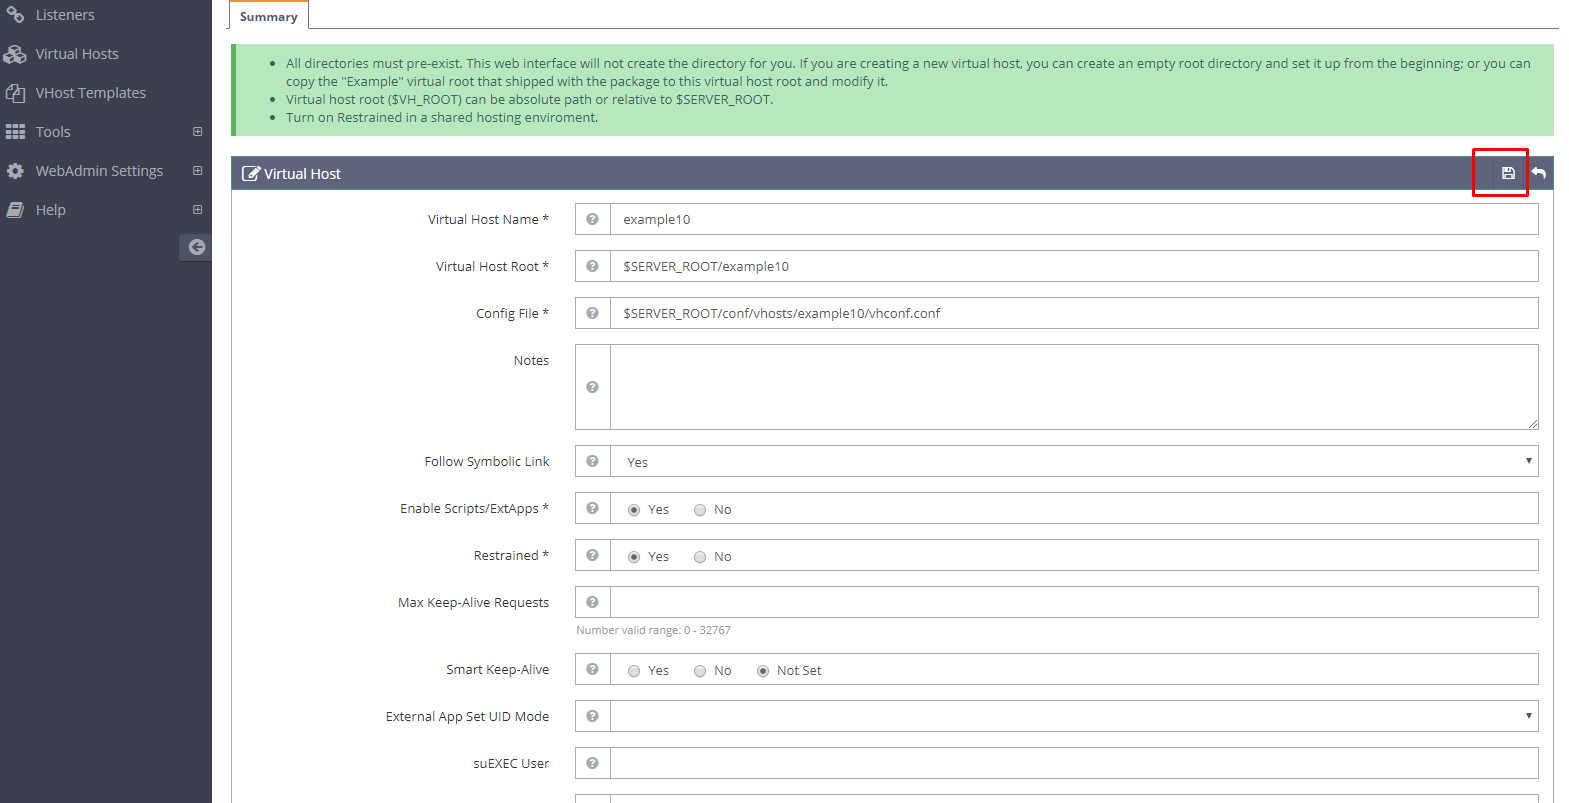
- Set up the settings like below.
Virtual Host Name: example10
Virtual Host Root: $SERVER_ROOT/example10
Config File: $SERVER_ROOT/conf/vhosts/example10/vhconf.conf

Enable Scripts/ExtApps: Yes
Restrained: Yes
NOTE: if you are following my Deploy WordPress with OpenLiteSpeed in Docker swarm, the ‘Virtual Host Root’ will be /var/www/vhosts/example10
Now click save
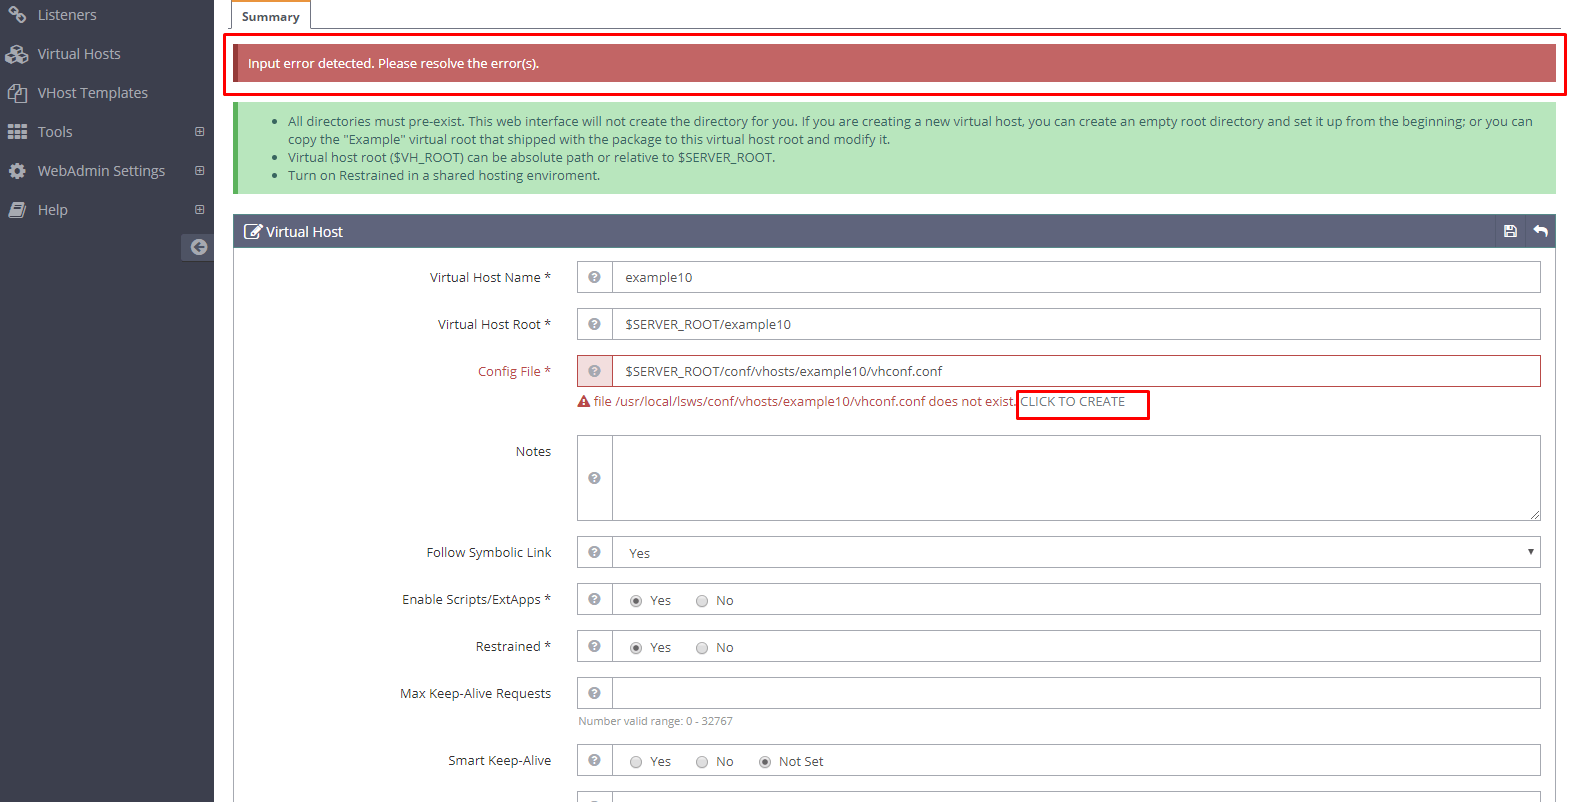
- You will see an error message that vhconf.conf doesn’t exist. Click on “CLICK TO CREATE” to solve that problem. Now save again
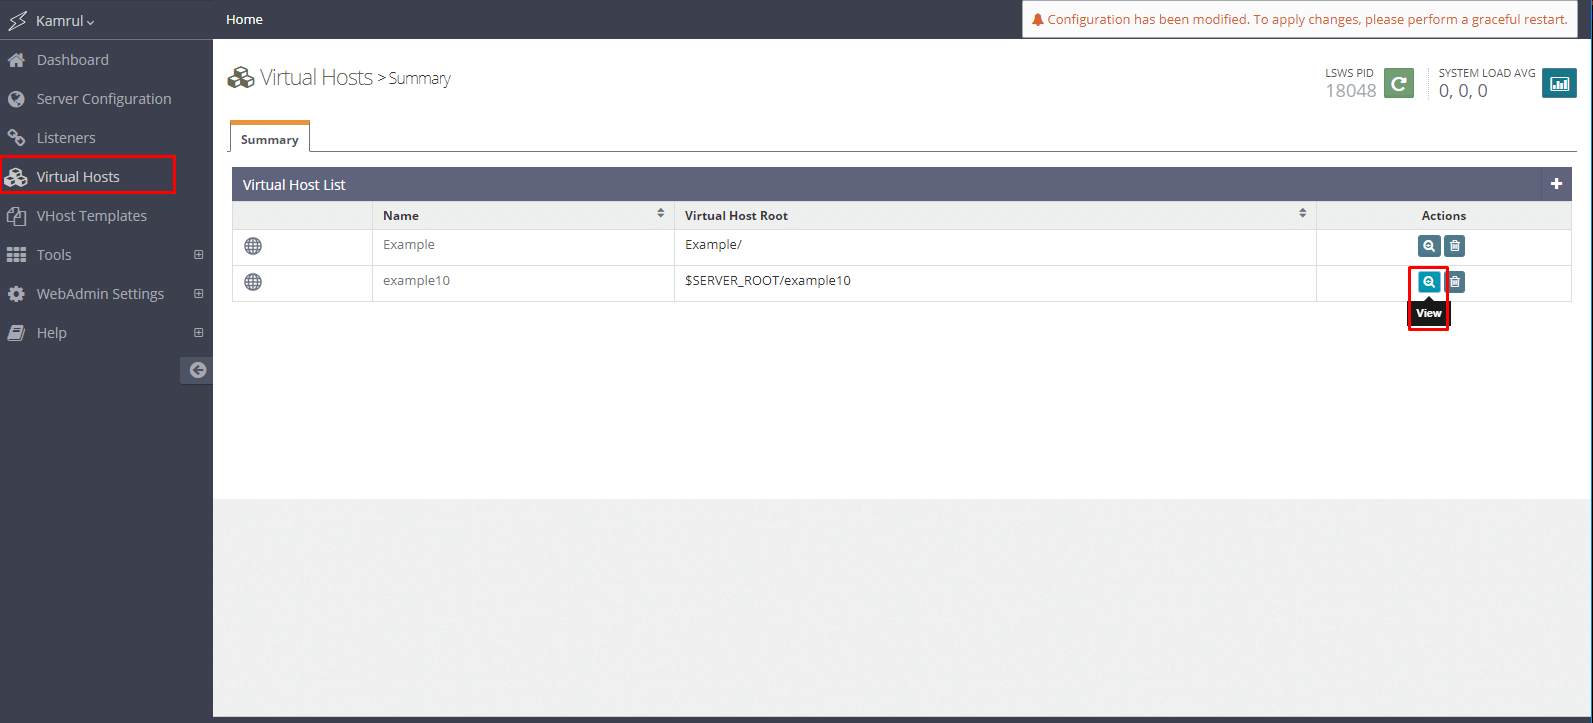
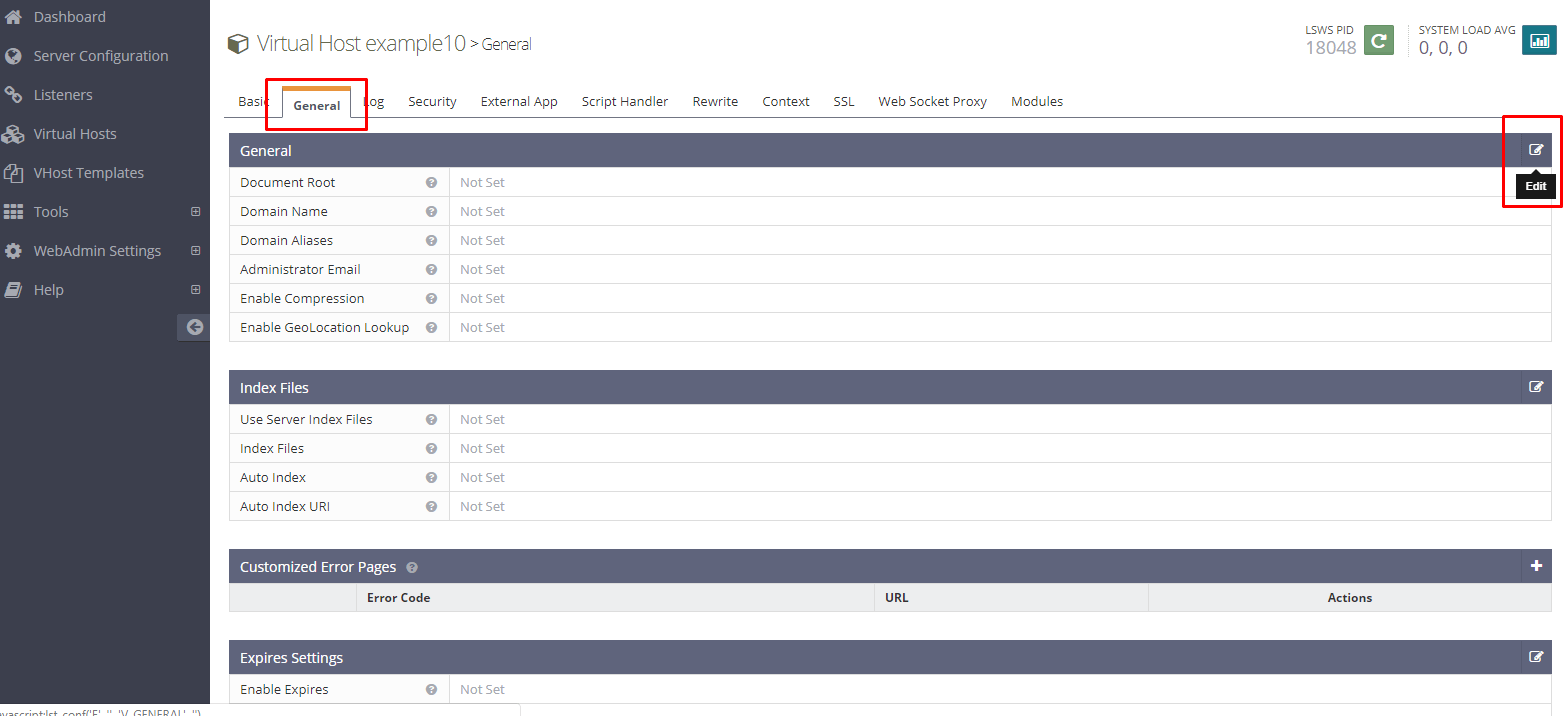
- Now go to the “Virtual Hosts” again and click on the “View” icon of newly created configuration.
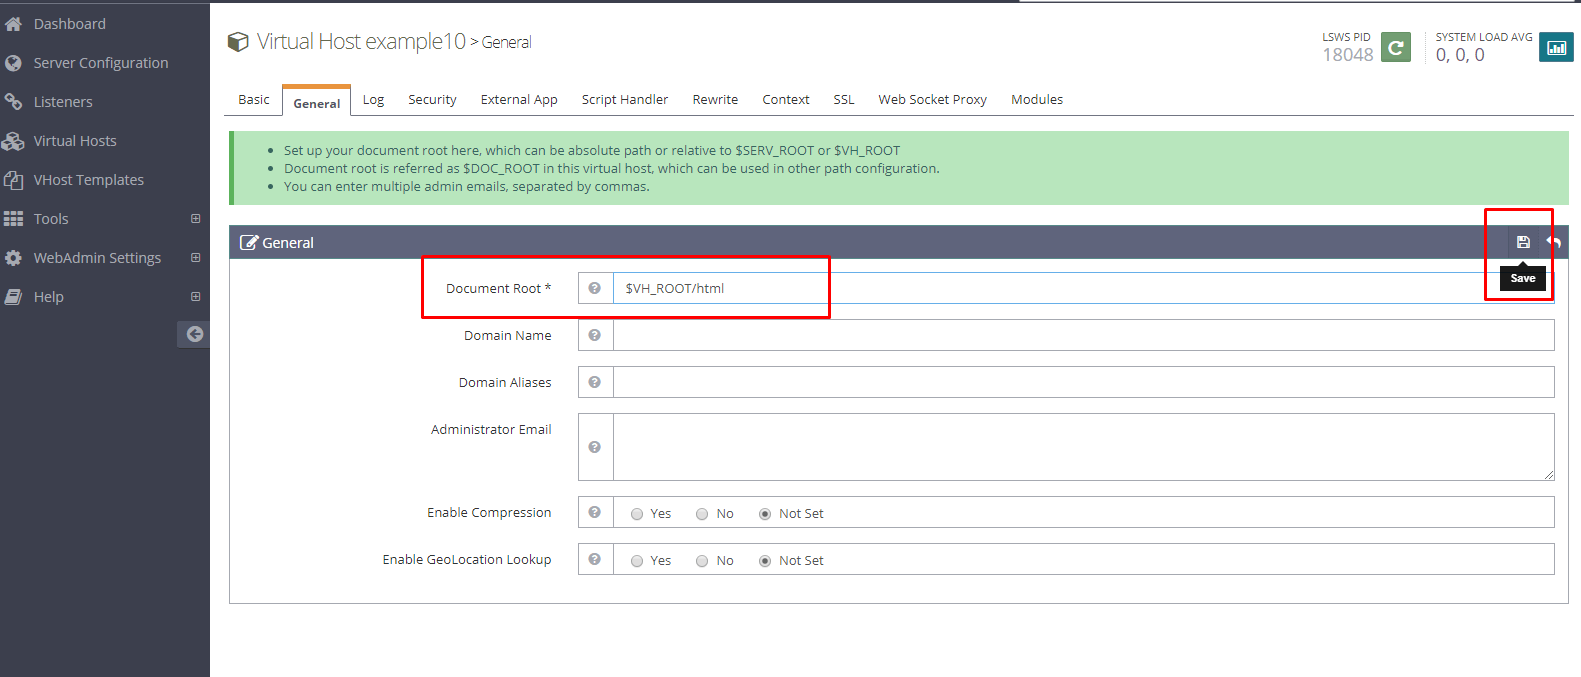
- Click “General” tab and click the “Edit” button
$VH_ROOT/html
- Specify the “Document Root” directory and save
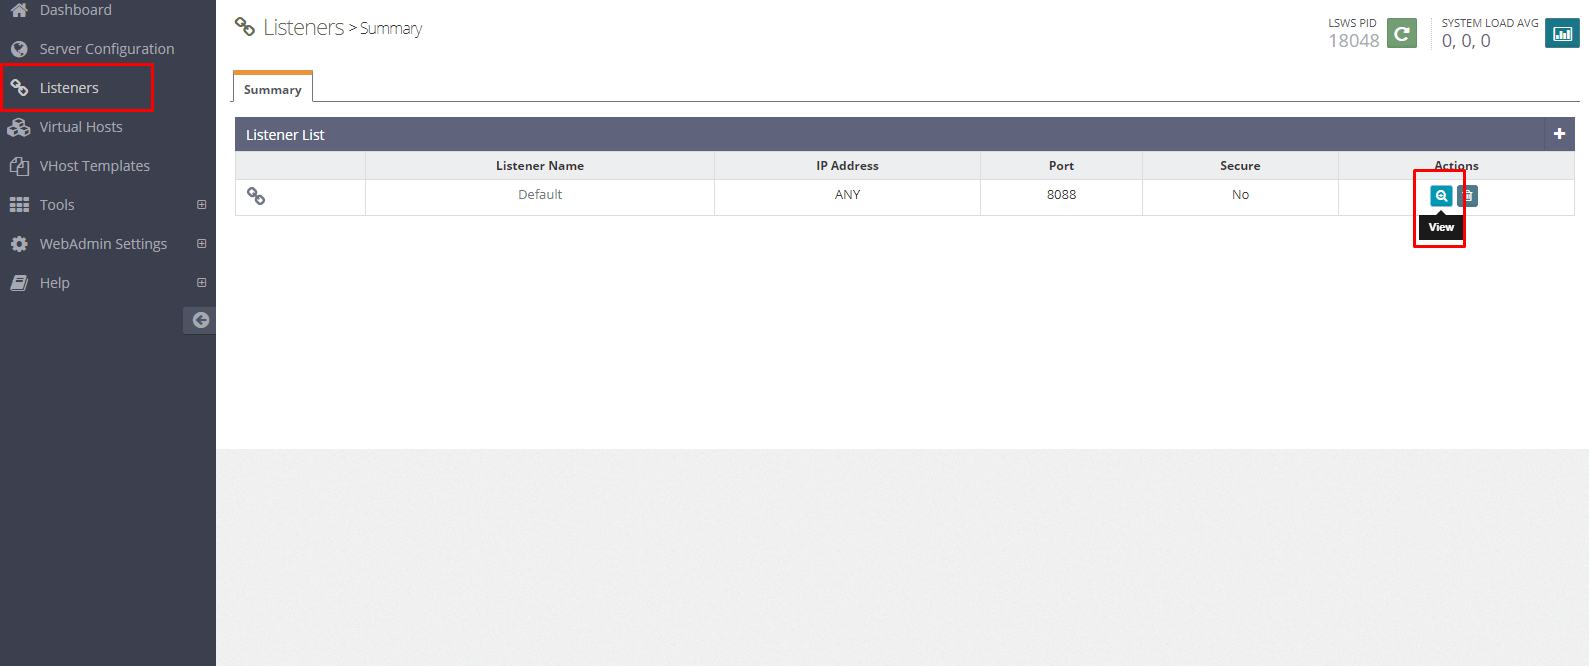
Assigning the virtual host to the listeners
Now we will map our domain to the server IP. In this process, we can map multiple domains to a single IP address. Means we can host multiple websites in our server. To do that,
- Go to “Listeners” and click “View” icon
-
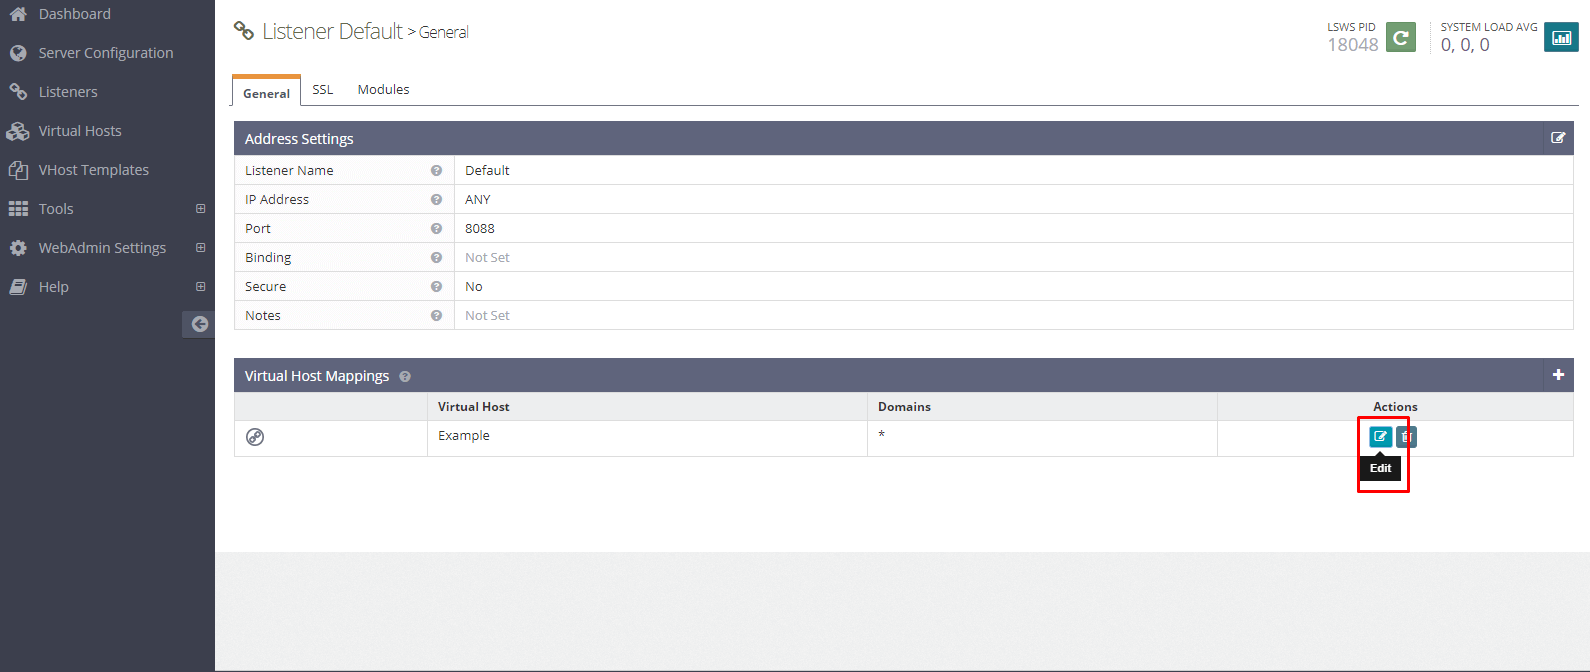
Under “Virtual Host Mappings”, click the edit button
-
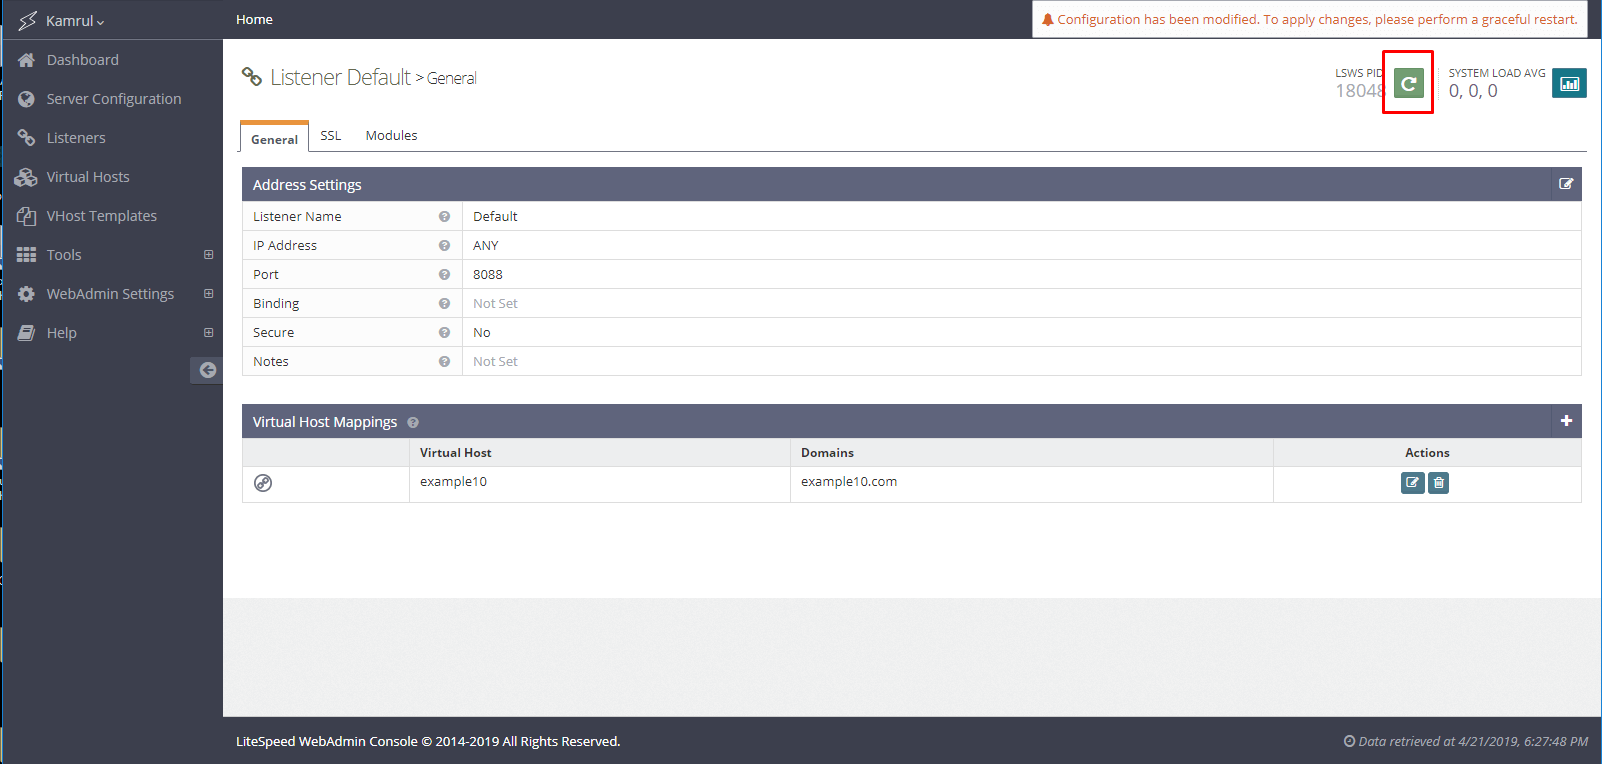
Select the previously created virtual host from the dropdown and write down the domain name that you want to add to the server. Click “Save”

-
Finally, click the restart button to take effect the changes
You have successfully added a domain to your server. However, don’t forget to add SSL certificate which brings extra security.