This tutorial will guide you how to install WordPress on OpenLiteSpeed web server. Before we start, make sure that you have OpenLiteSpeed web server, PHP, MySQL are installed and configured. If you didn’t have already, you can see How to install OpenLiteSpeed, PHP 7.3, MySQL on Debian 7/8 and CentOS 7
Preparing database for WordPress
Step 1: We will create a specific database and user for WordPress. To create a database, first log into your server and execute following command.
mysql -u root -p
Now we will create the user and database. Run the following commands one by one:
create database wordpress;
create user 'wpuser'@'localhost' identified by 'giveRandomPasswordHere';
Granting all the privileges to ‘wpuser’ on wordpress database
grant all privileges on wordpress.* to 'wpuser'@'localhost';
flush privileges;
exit;
To sum up, here we configure the following things which will be needed to setup WordPress later:
Database Name: wordpress
Username: wpuser
Password: givenRandomPassword
Download WordPress and give the right permission
Let’s say our domain’s public directory is in /usr/local/lsws/example10/html So we will download and extract WordPress to that directory.
- First, let’s download the WordPress:
cd /usr/local/lsws/example10/html
wget http://wordpress.org/latest.tar.gz
tar -xzf latest.tar.gz
NOTE: if you are following my Deploy WordPress with OpenLiteSpeed in Docker swarm, navigate to /var/www/vhosts/example10/html instead of /usr/local/lsws/example10/html
- If you want to install WordPress in a sub-directory (http://yourdomain.com/wordpress), then skip the next step. Otherwise, run the following commands to install WordPress in root directory
mv ./wordpress/* .
rmdir ./wordpress
- The above commands will move all the WordPress files from WordPress folder to the root directory and remove the empty WordPress directory. Now let’s set the correct permission for all the files and directory
chown -R nobody:nogroup .
Configuring Web Server to handle index files and rewrite rules for WordPress
Before we start installing WordPress, we need to set the index files. In that way, the web server can render PHP files.
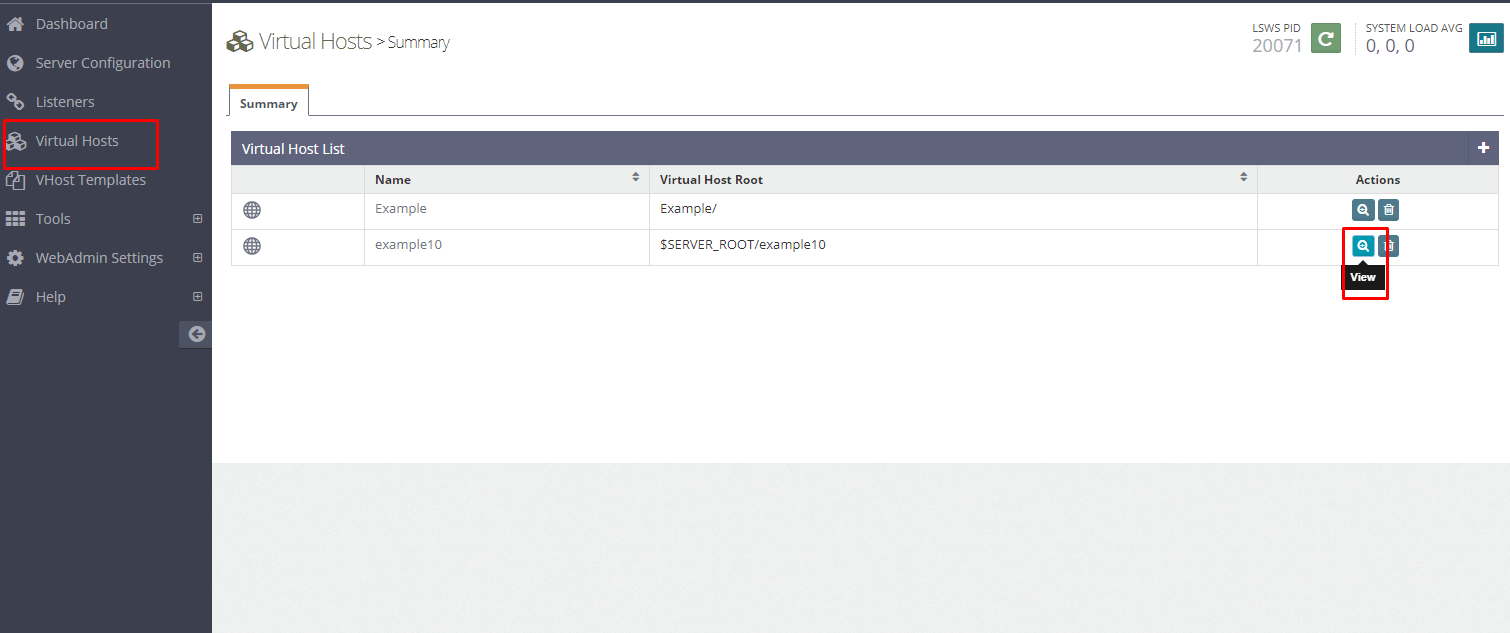
- First select your virtual host. In our case it is example10.
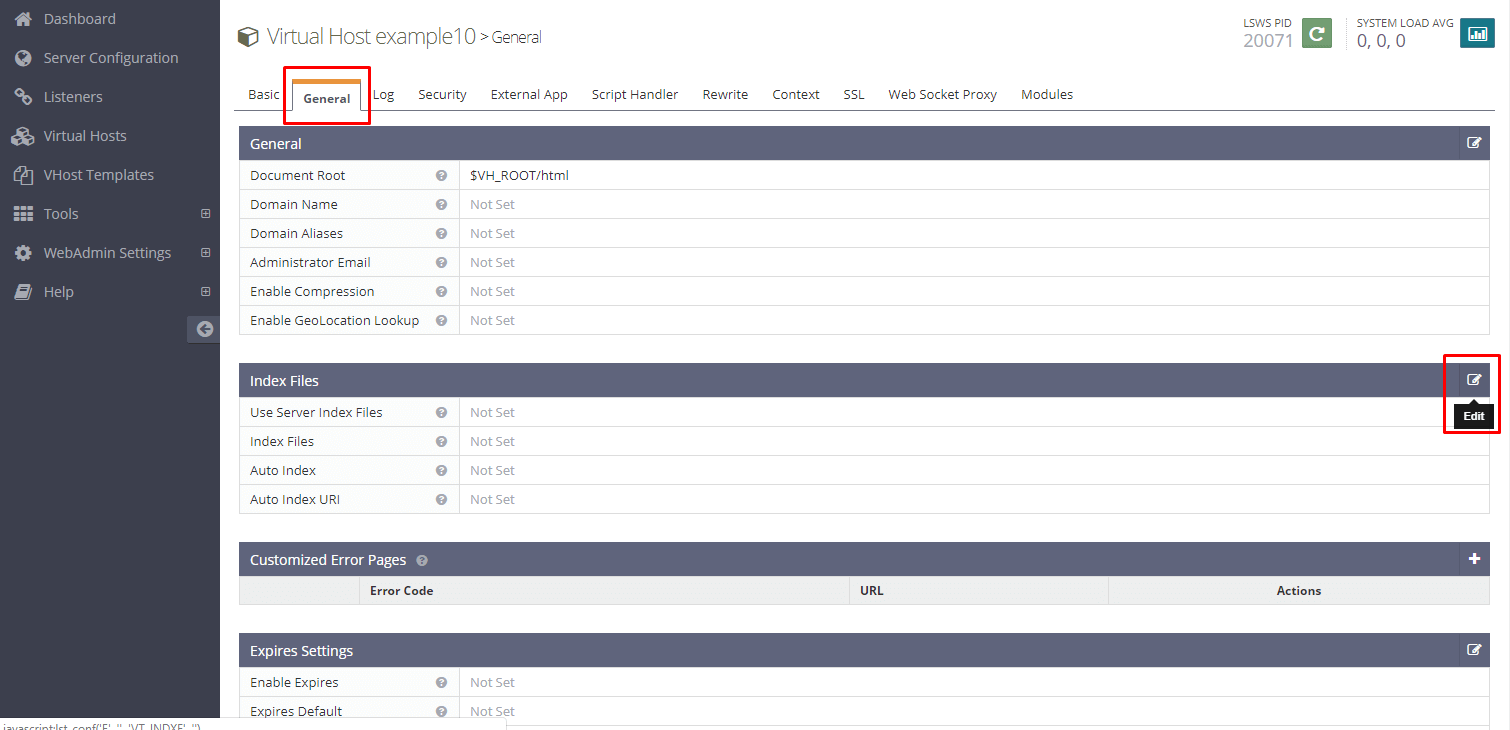
- Now go to “General” tab edit “Index Files” configuration
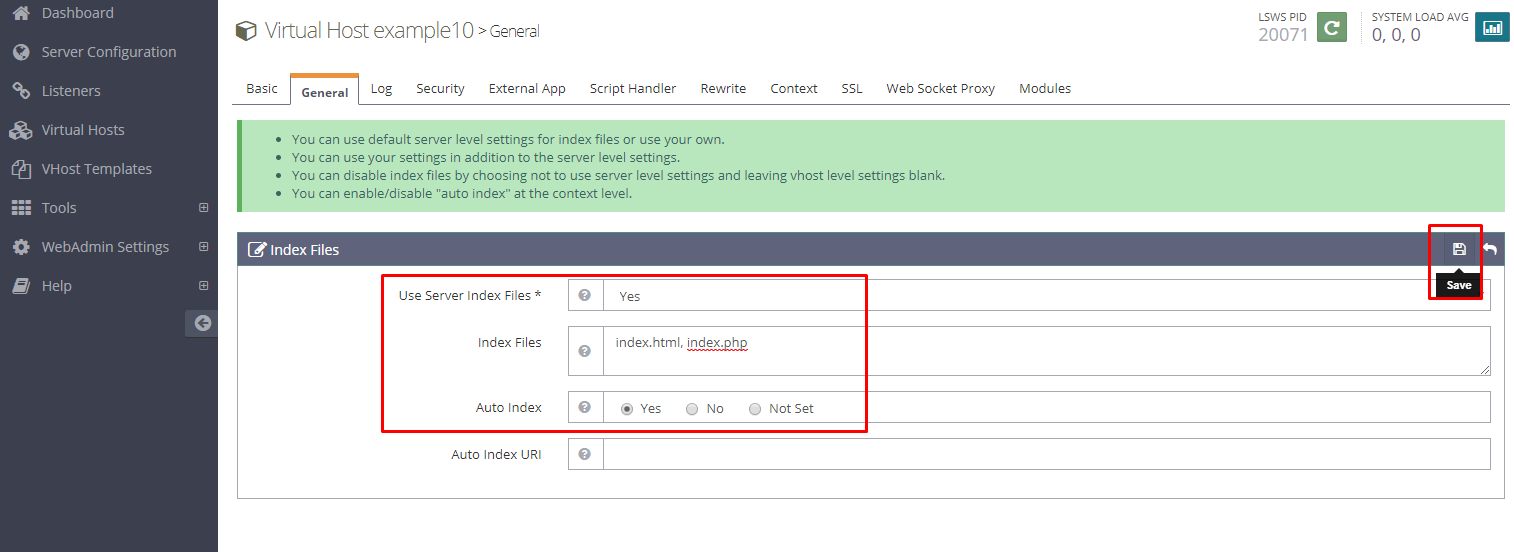
- Set configuration like this:
Use Server Index Files: Yes
Index Files: index.html, index.php
Auto Index: Yes
Click save icon to save the changes
Now we will configure the rewrite rules so that the permalink of WordPress works perfectly.
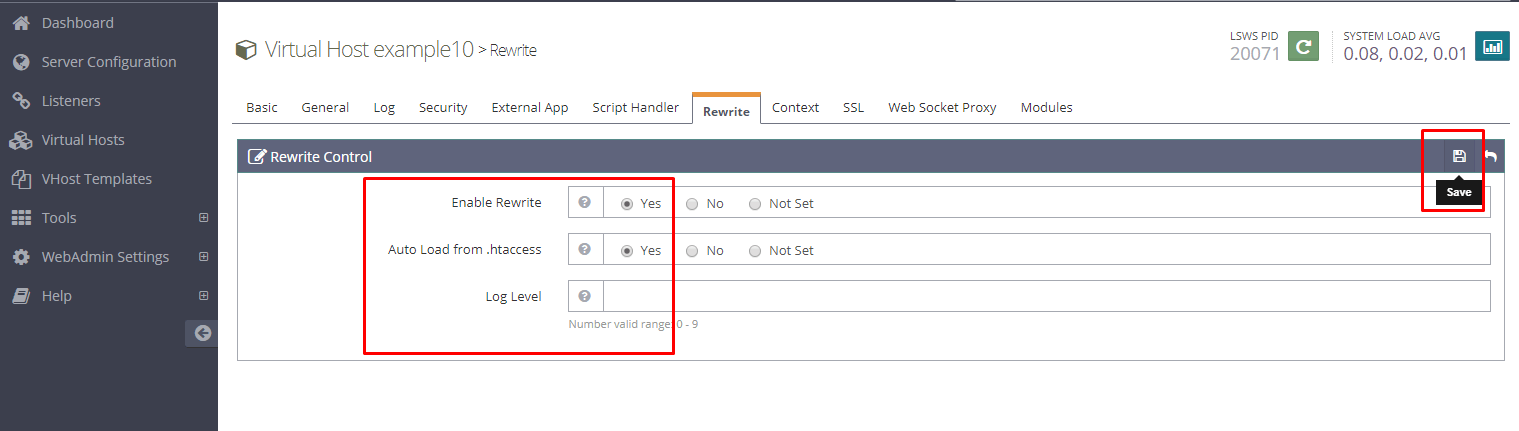
- Go to the “Rewrite” tab and edit the “Rewrite Control” settings.
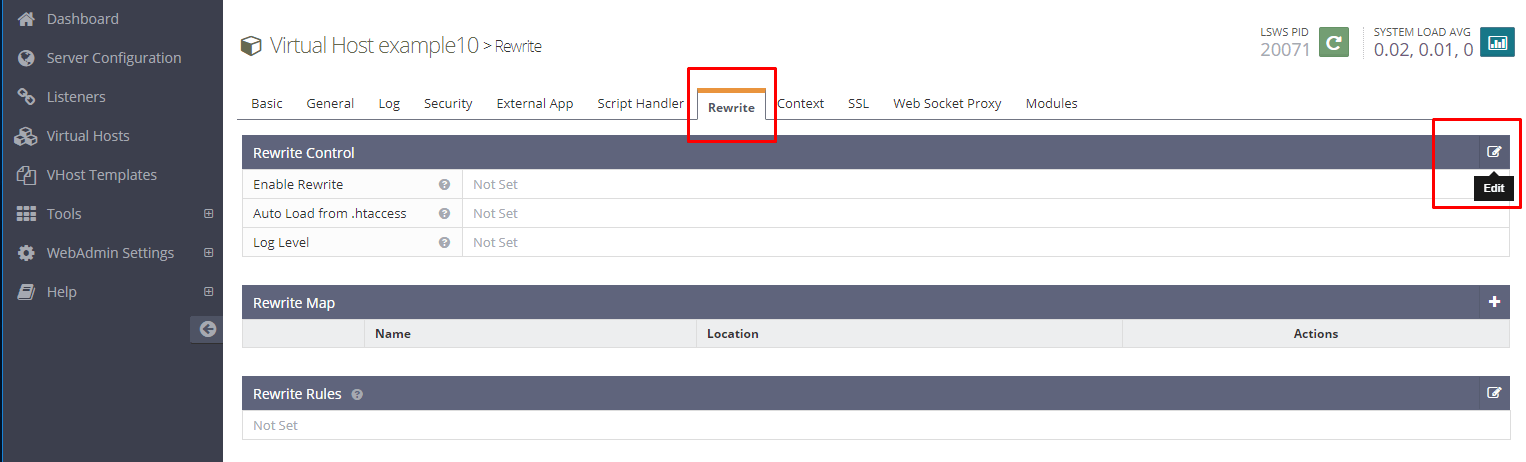
5. Set the “Enable Rewrite” & “Auto Load from .htaccess” to “Yes” and save
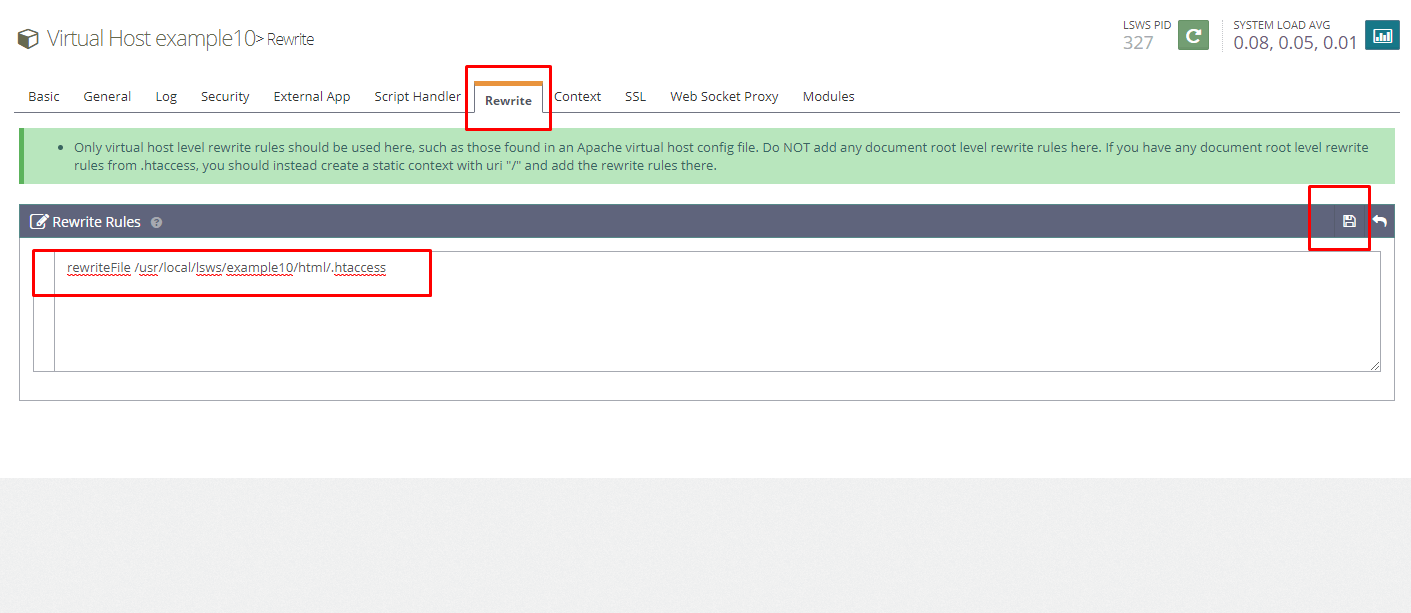
- Now edit the “Rewrite Rules” settings and paste the following line then click save. Replace ‘example10’ with the name of the directory of your virtual host
rewriteFile /usr/local/lsws/example10/html/.htaccess
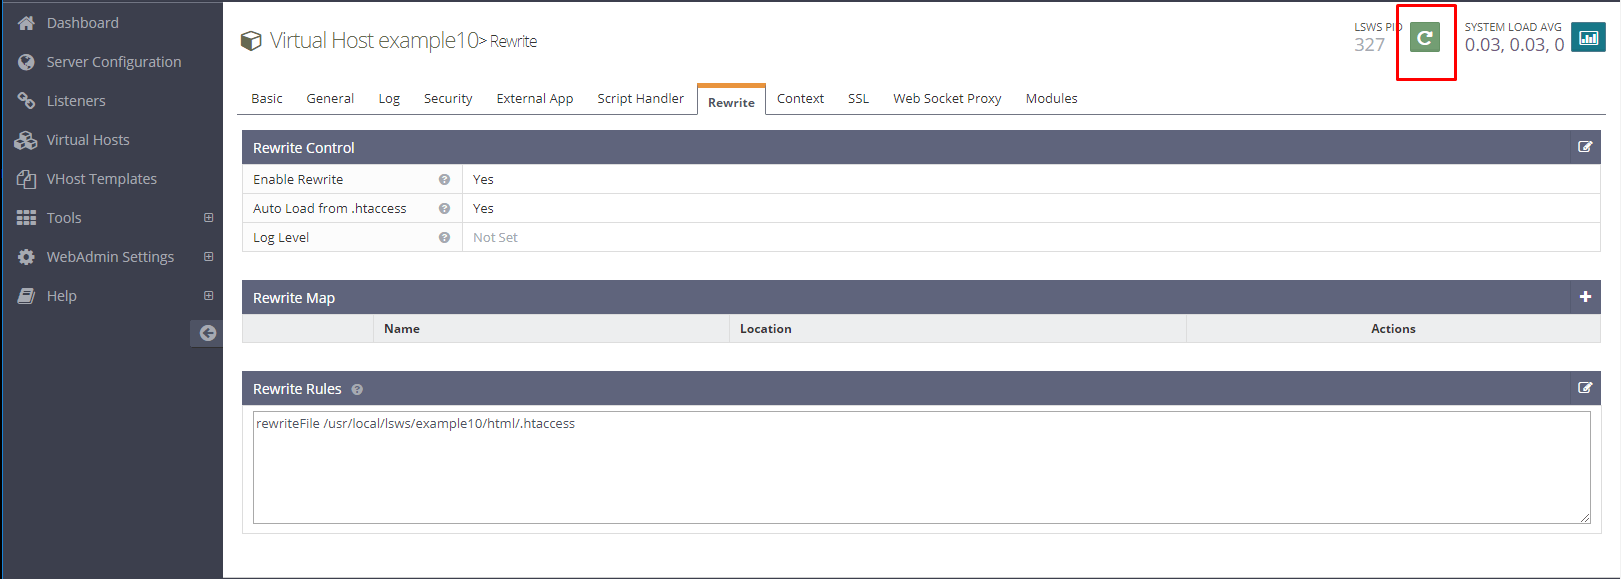
- Finally restart the server gracefully to apply the changes
Visit your domain and install WordPress to build your amazing website!