GlusterFS is a network attached distributed storage solution that connects multiple storage pool from different machines and act as a simple unified storage. It’s a high available, durable storage solution that can scale out and able to store petabyte of data. In this tutorial, we will see how to setup GlusterFS volume for Kubernetes cluster.
Prerequisite
First, you need a working multi-node Kubernetes cluster. You can follow my other tutorial on Deploy multi-node Kubernetes Cluster locally with Rancher.
Suppose you have deployed one master node and two worker nodes. We will use the storages of worker nodes so that those nodes make up a unified storage volume.
Setup GlusterFS server
First, in our worker nodes, we will install GlusterFS server packages. Assuming the nodes are running in ubuntu.
sudo apt install glusterfs-server -y
sudo systemctl enable glusterd --now
The above commands will install the GlusterFS server packages on worker nodes. Now we will group the storage of those worker nodes as a single storage pool. Before doing that, we need to configure the host file so that each worker node can reach each other with specified hostname. Suppose the worker nodes IP are 192.168.122.111 & 192.168.122.113. So add the following entry to each worker node’s host configuration with any made-up hostname:
vim /etc/hosts
192.168.122.111 gluster1
192.168.122.113 gluster2
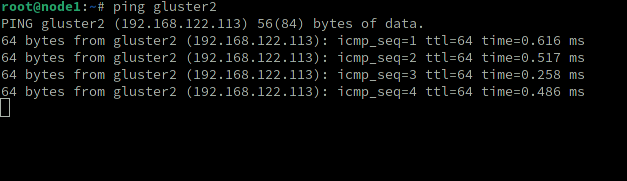
Now ping each other node for testing the availability
Also create a directory in each node where brick will be stored. In GlusterFS, brick is nothing but a volume. It is just a directory that we will create in our storage nodes.
mkdir /gluster
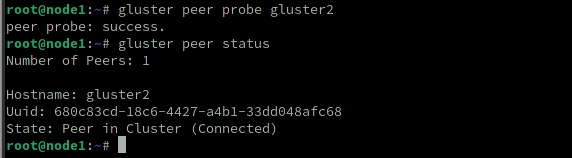
Now, while logged in the first worker node (gluster1), run the following command to peer with node 2 (gluster2)
gluster peer probe gluster2
gluster peer status
Creating volume
gluster volume list
gluster volume create volume1 replica 2 gluster1:/gluster/brick1 gluster2:/gluster/brick1
In above command, we are creating a volume with two replicas as we have two nodes. Of course you can name anything to your volume other than volume1. Same goes to brick1. By running this command, you will see two errors:
First error will say that the nodes should be odd number for HA (high availablility).
Second error will tell that we shouldn’t use root partition for GlusterFS. We should choose other partition than root. However, since we are in demo environment, we can force to create the volume by adding force flag.
gluster volume create volume1 replica 2 gluster1:/gluster/brick1 gluster2:/gluster/brick1 force
Check the status
gluster volume list
gluster volume info
gluster volume start volume1
gluster volume status
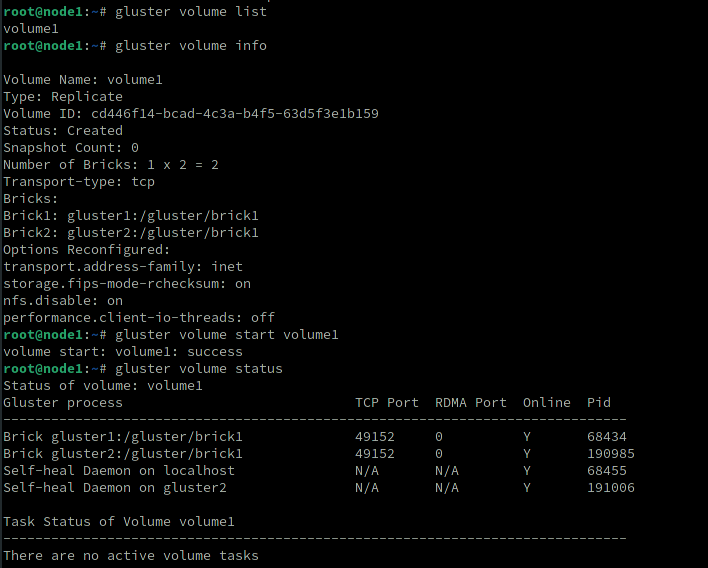
Everything is working fine. Now let’s setup volume1 as our Kubernetes volume
Configuring Persistent volume
The first step is to create the endpoints for GlusterFS. Execute the following code. Replace the IP addresses of your nodes:
cat <<EOF | kubectl apply -f -
apiVersion: v1
kind: Endpoints
metadata:
  name: glusterfs-cluster
subsets:
- addresses:
  - ip: 192.168.122.111
  ports:
  - port: 49152
- addresses:
  - ip: 192.168.122.113
  ports:
  - port: 49152
EOF
You should see the endpoints are created

Next create the service for that endpoint so that it will persist.
cat <<EOF | kubectl apply -f -
apiVersion: v1
kind: Service
metadata:
  name: glusterfs-cluster
spec:
  ports:
  - port: 49152
EOF
Our setup part is done! For testing, create a pod with GlusterFS volume attached. Paste the following code block to gluster-pod.yaml Replace the path with GlusterFS volume that we created earlier.
apiVersion: v1
kind: Pod
metadata:
  name: glusterfs-demo-pod
spec:
  containers:
  - name: glusterfs
    image: nginx
    volumeMounts:
    - mountPath: "/mnt/glusterfs"
      name: glusterfsvol
  volumes:
  - name: glusterfsvol
    glusterfs:
      endpoints: glusterfs-cluster
      path: volume1
      readOnly: true
Create the pod
kubectl create -f gluster-pod.yaml
The pod should be running.

The volume inside the pod should be mounted as well
kubectl exec glusterfs-demo-pod -- mount | grep gluster

Done! We just configured GlusterFS for Kubernetes 😎