In this tutorial, We will see how to deploy WordPress with OpenLiteSpeed web server, MySQL & phpMyAdmin in docker swarm. If you see the official docker image of WordPress in docker hub, you will find that the official image have built in Apache web server. As I am a big fan of OpenLiteSpeed (open source edition of LiteSpeed web server), here we will see how to run WordPress in OpenLiteSpeed web server.
Preparing the docker in server
We need to install docker in the server. Note that to run docker swarm flawlessly, more than 1 GB ram is recommended. Let’s run the following two commands which are enough to setup and run docker in the server. Easy eh?
curl -fsSL https://get.docker.com -o get-docker.sh
sh get-docker.sh
After successful setup, you will see an output like this:
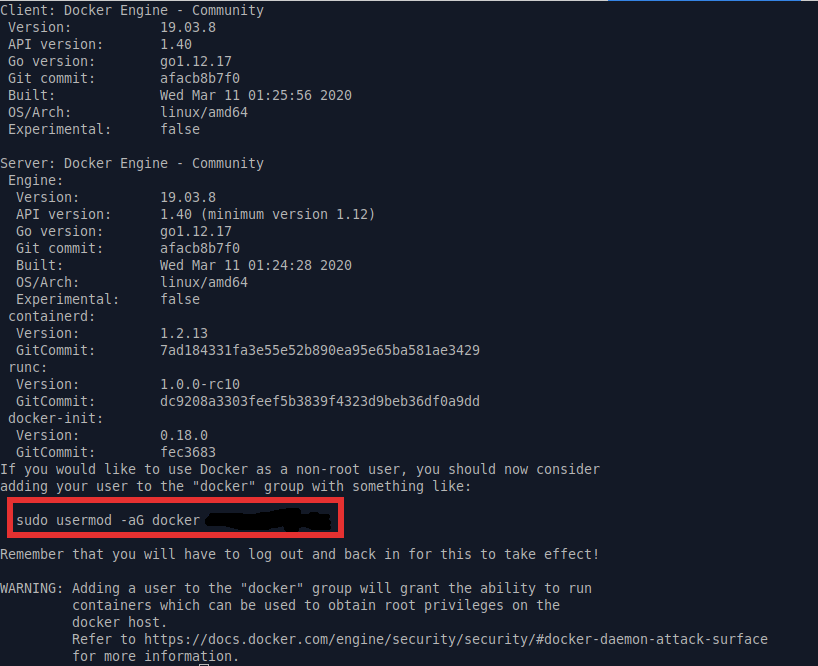
Since it’s not possible to run docker command without being root, let’s execute the following command so that we can use docker as non-root user:
sudo usermod -aG docker <user-name>
All setup, we are ready to roll.
Installing docker compose and deploy
Let’s install docker compose first. We will use docker-compose in order to deploy the compose file. Follow the instructions from official installation guide. For Linux:
sudo curl -L "https://github.com/docker/compose/releases/download/1.25.4/docker-compose-$(uname -s)-$(uname -m)" -o /usr/local/bin/docker-compose
sudo chmod +x /usr/local/bin/docker-compose
docker-compose --version
Docker compose will be installed in no time.
Now we will deploy the docker-compose file. Let’s clone the repository where I wrote the compose file for deploying the services in docker compose or stack. Then navigate to that directory
sudo apt-get install git -y
git clone https://github.com/k4mrul/ols-docker-env.git
cd ols-docker-env
ls
In that directory, the php.ini file is for OpenLiteSpeed web server. It is optimized for running WordPress flawlessly. The ‘sites’ directory is like public_html folder where we can manage our websites/virtual hosts. Both two file & folder will be copied into the docker container. Bind volume is in action.
Before we deploy this configuration in swarm, let’s deploy as compose first. However, before deploying, open docker-compose.yml file and change MYSQL_ROOT_PASSWORD value to something else. After that, run the following command.
docker-compose up -d
See the running containers in compose
docker-compose ps

Lovely, the containers are doing great.
Now visit the following url:
http://server-ip:7080. Note that the browser will warn that the site is not secure to browse. Don’t worry as the certificate is invalid, the browser is raising that warning. Just click “Advanced” & “Proceed”. Finally you will see the OpenLiteSpeed panel. The default user is admin and password is 123456
Also visit http://server-ip:8080 (make sure you are browsing this url without https). You should see the phpMyAdmin login page. Login with root and the password you set in the docker-compose.yml file.
So we saw that OpenLiteSpeed webserver, phpMyAdmin & MySQL are working fine. Now let’s run those services in a single swarm node. As you already know for production, it is recommended to use docker swarm instead of docker compose. There are several reasons to use swarm:
- Swarm includes lots of extra features out of the box like: secrets, load balancing, auto-recovery of services, rollbacks, health check.
- Easy to install the update. Since swarm comes with docker engine, updating docker engine is enough
- If you need to scale, you can always add extra manager/worker nodes.
There are lots of other benefits. Enough of that. Let’s get back to our tutorial.
Initializing swarm and deploy the single swarm node:
To run single swarm node, first remove the running containers which is controlling by docker compose. So execute:
docker-compose down
docker volume prune
This command will stop and remove the containers & volume run by docker compose.
Now initialize the docker swarm and deploy the services in stack. We choose stack name as myService. You can name anything you want:
docker swarm init
docker stack deploy -c docker-compose.yml myService
Verifying:
docker stack ls
docker stack services myService

Great! All the services are running smoothly. You can further verify by vising the above urls again.
Getting into container for setting up web server and WordPress
In order to setup web server and WordPress, first, we need to get into the container. Execute the below commands. You will be in the litespeed web server container.
CONT_NAME=$(docker ps --format {{.Names}} --filter "name=litespeed.1")
docker container exec -it ${CONT_NAME} bash

Success. Now add a domain in web server and install WordPress while you are in the container.